Configure project-specific NTP server
By default, the gateway synchronizes its internal clock with the default Network Time Protocol (NTP) server. If your organization requires a specific NTP server, you can configure the gateway to use a project-specific NTP server using the Signify Interact Builder mobile app and web portal.
Before you begin, ensure that:
-
The gateway is powered on and connected to the network infrastructure.
-
UDP port 123 is open on the network firewall or router to allow communication with the NTP server.
| The gateway uses NTP server to synchronize its internal clock, which is required for accurate schedule execution. If the "NTP Server Unreachable" message is displayed, verify that UDP port 123 is open on the network router or firewall and the specified NTP server is available. |
Project-specific NTP server configuration using the web portal
To configure a project-specific Network Time Protocol (NTP) server in the web portal, follow these steps.
-
In the navigation pane, select Setup.
-
In the Wireless light networks list, select the required network.
Result: The network details page opens.
-
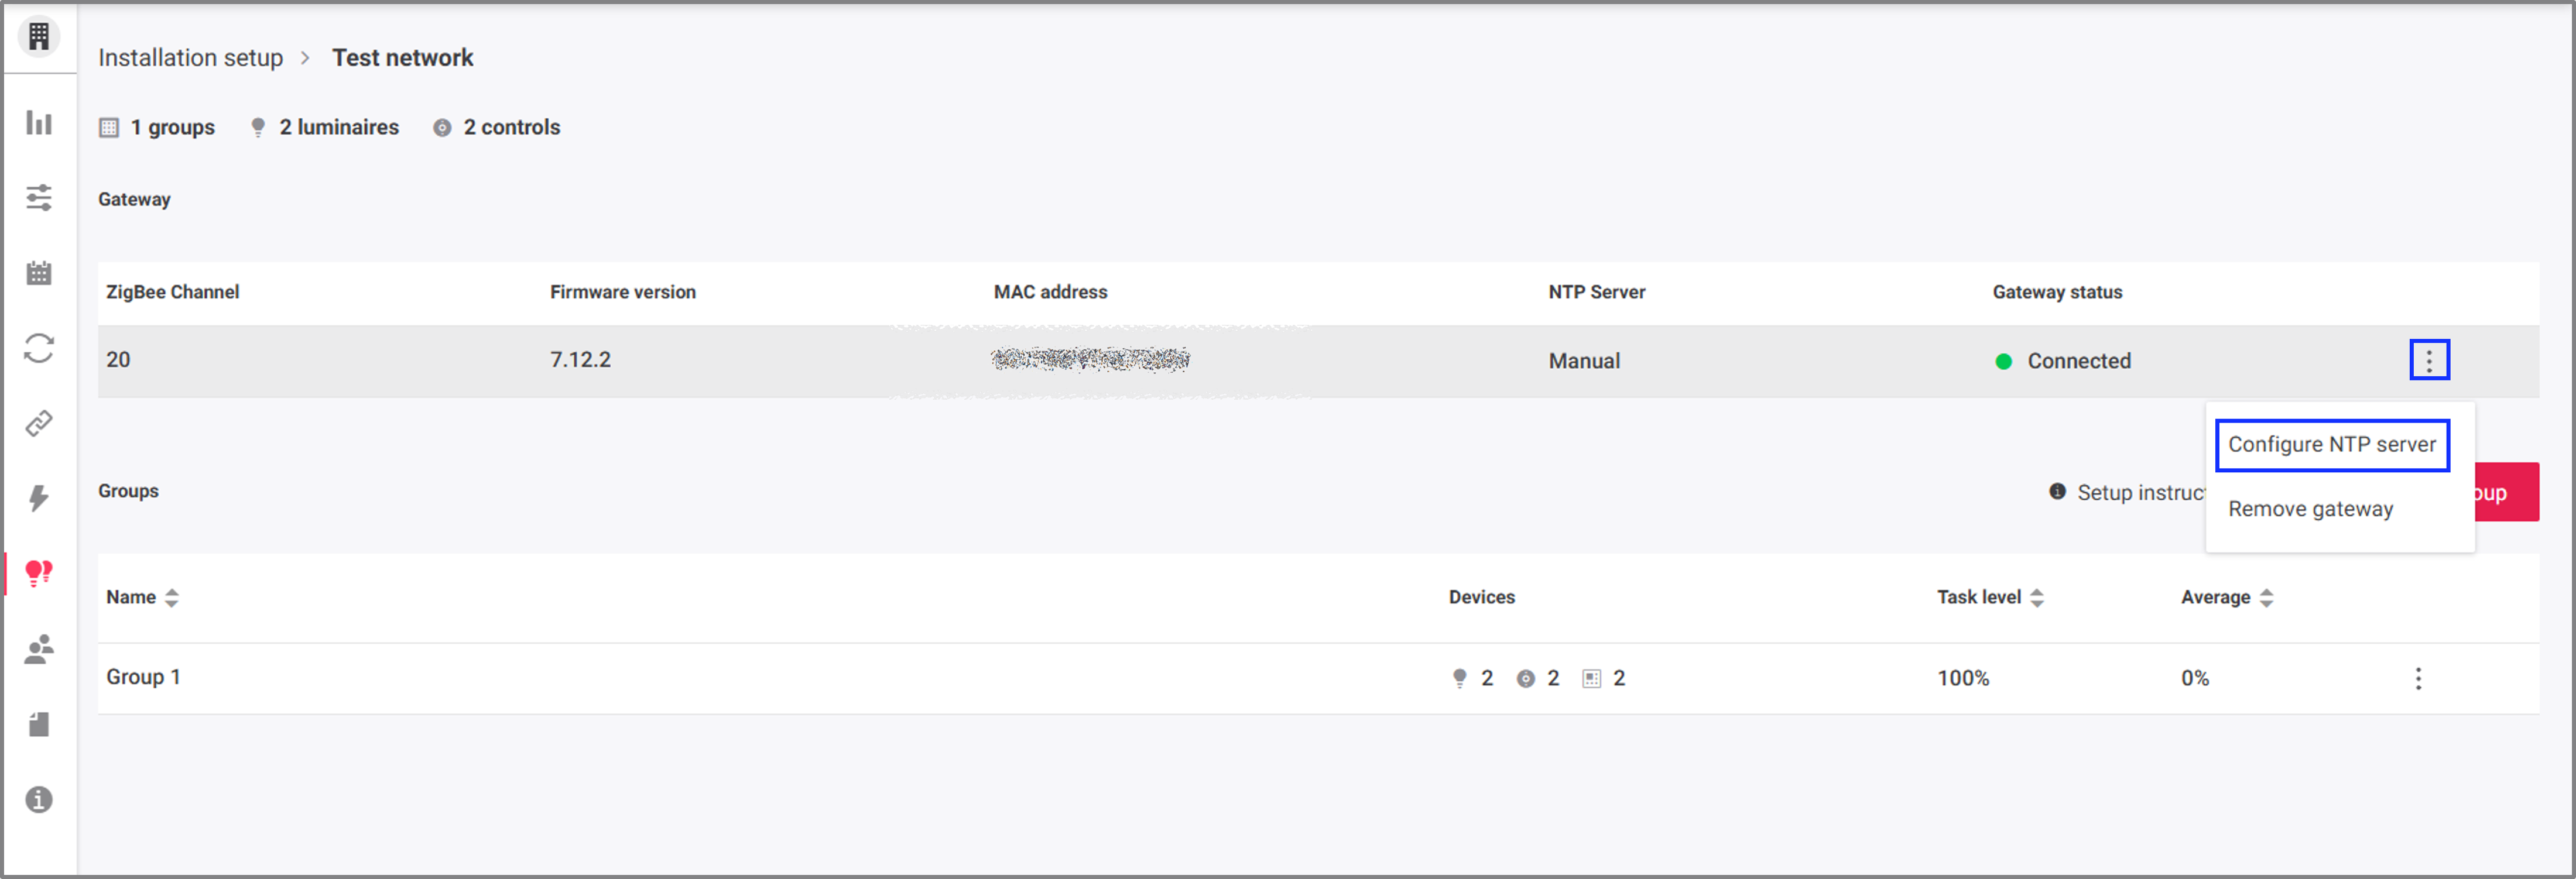
In the Gateway list, click the Actions menu (⋮) for the required gateway, and select Configure NTP server.
-
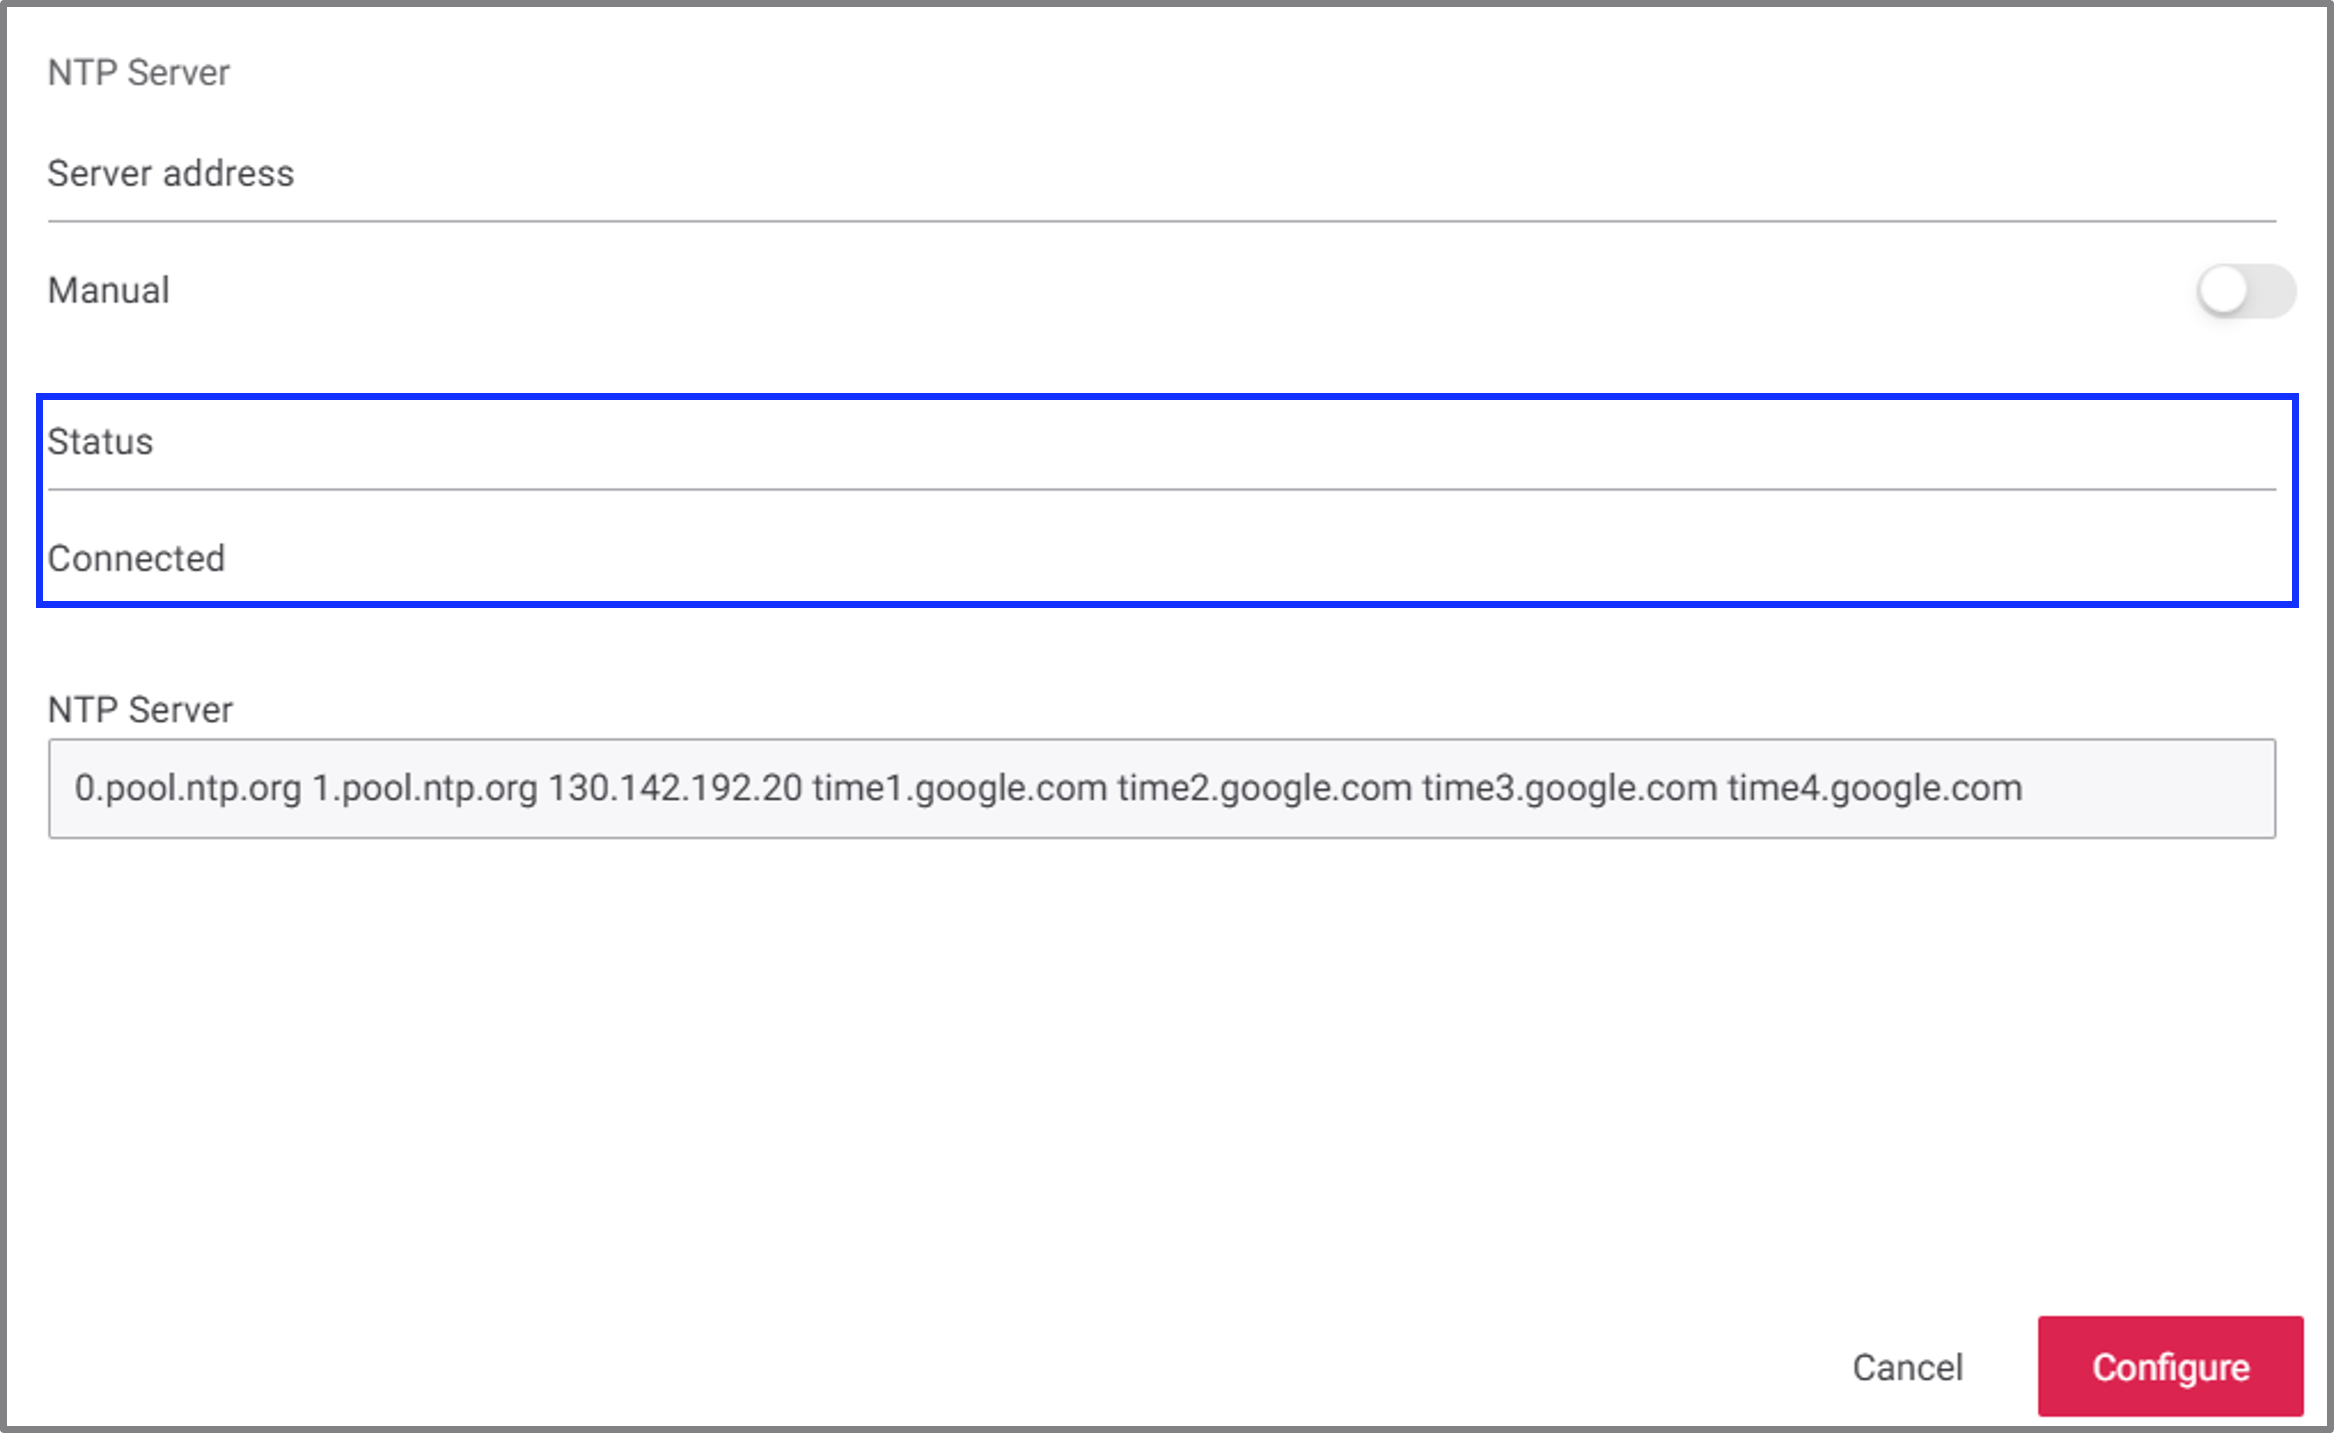
Verify the Status field displays Connected.
-
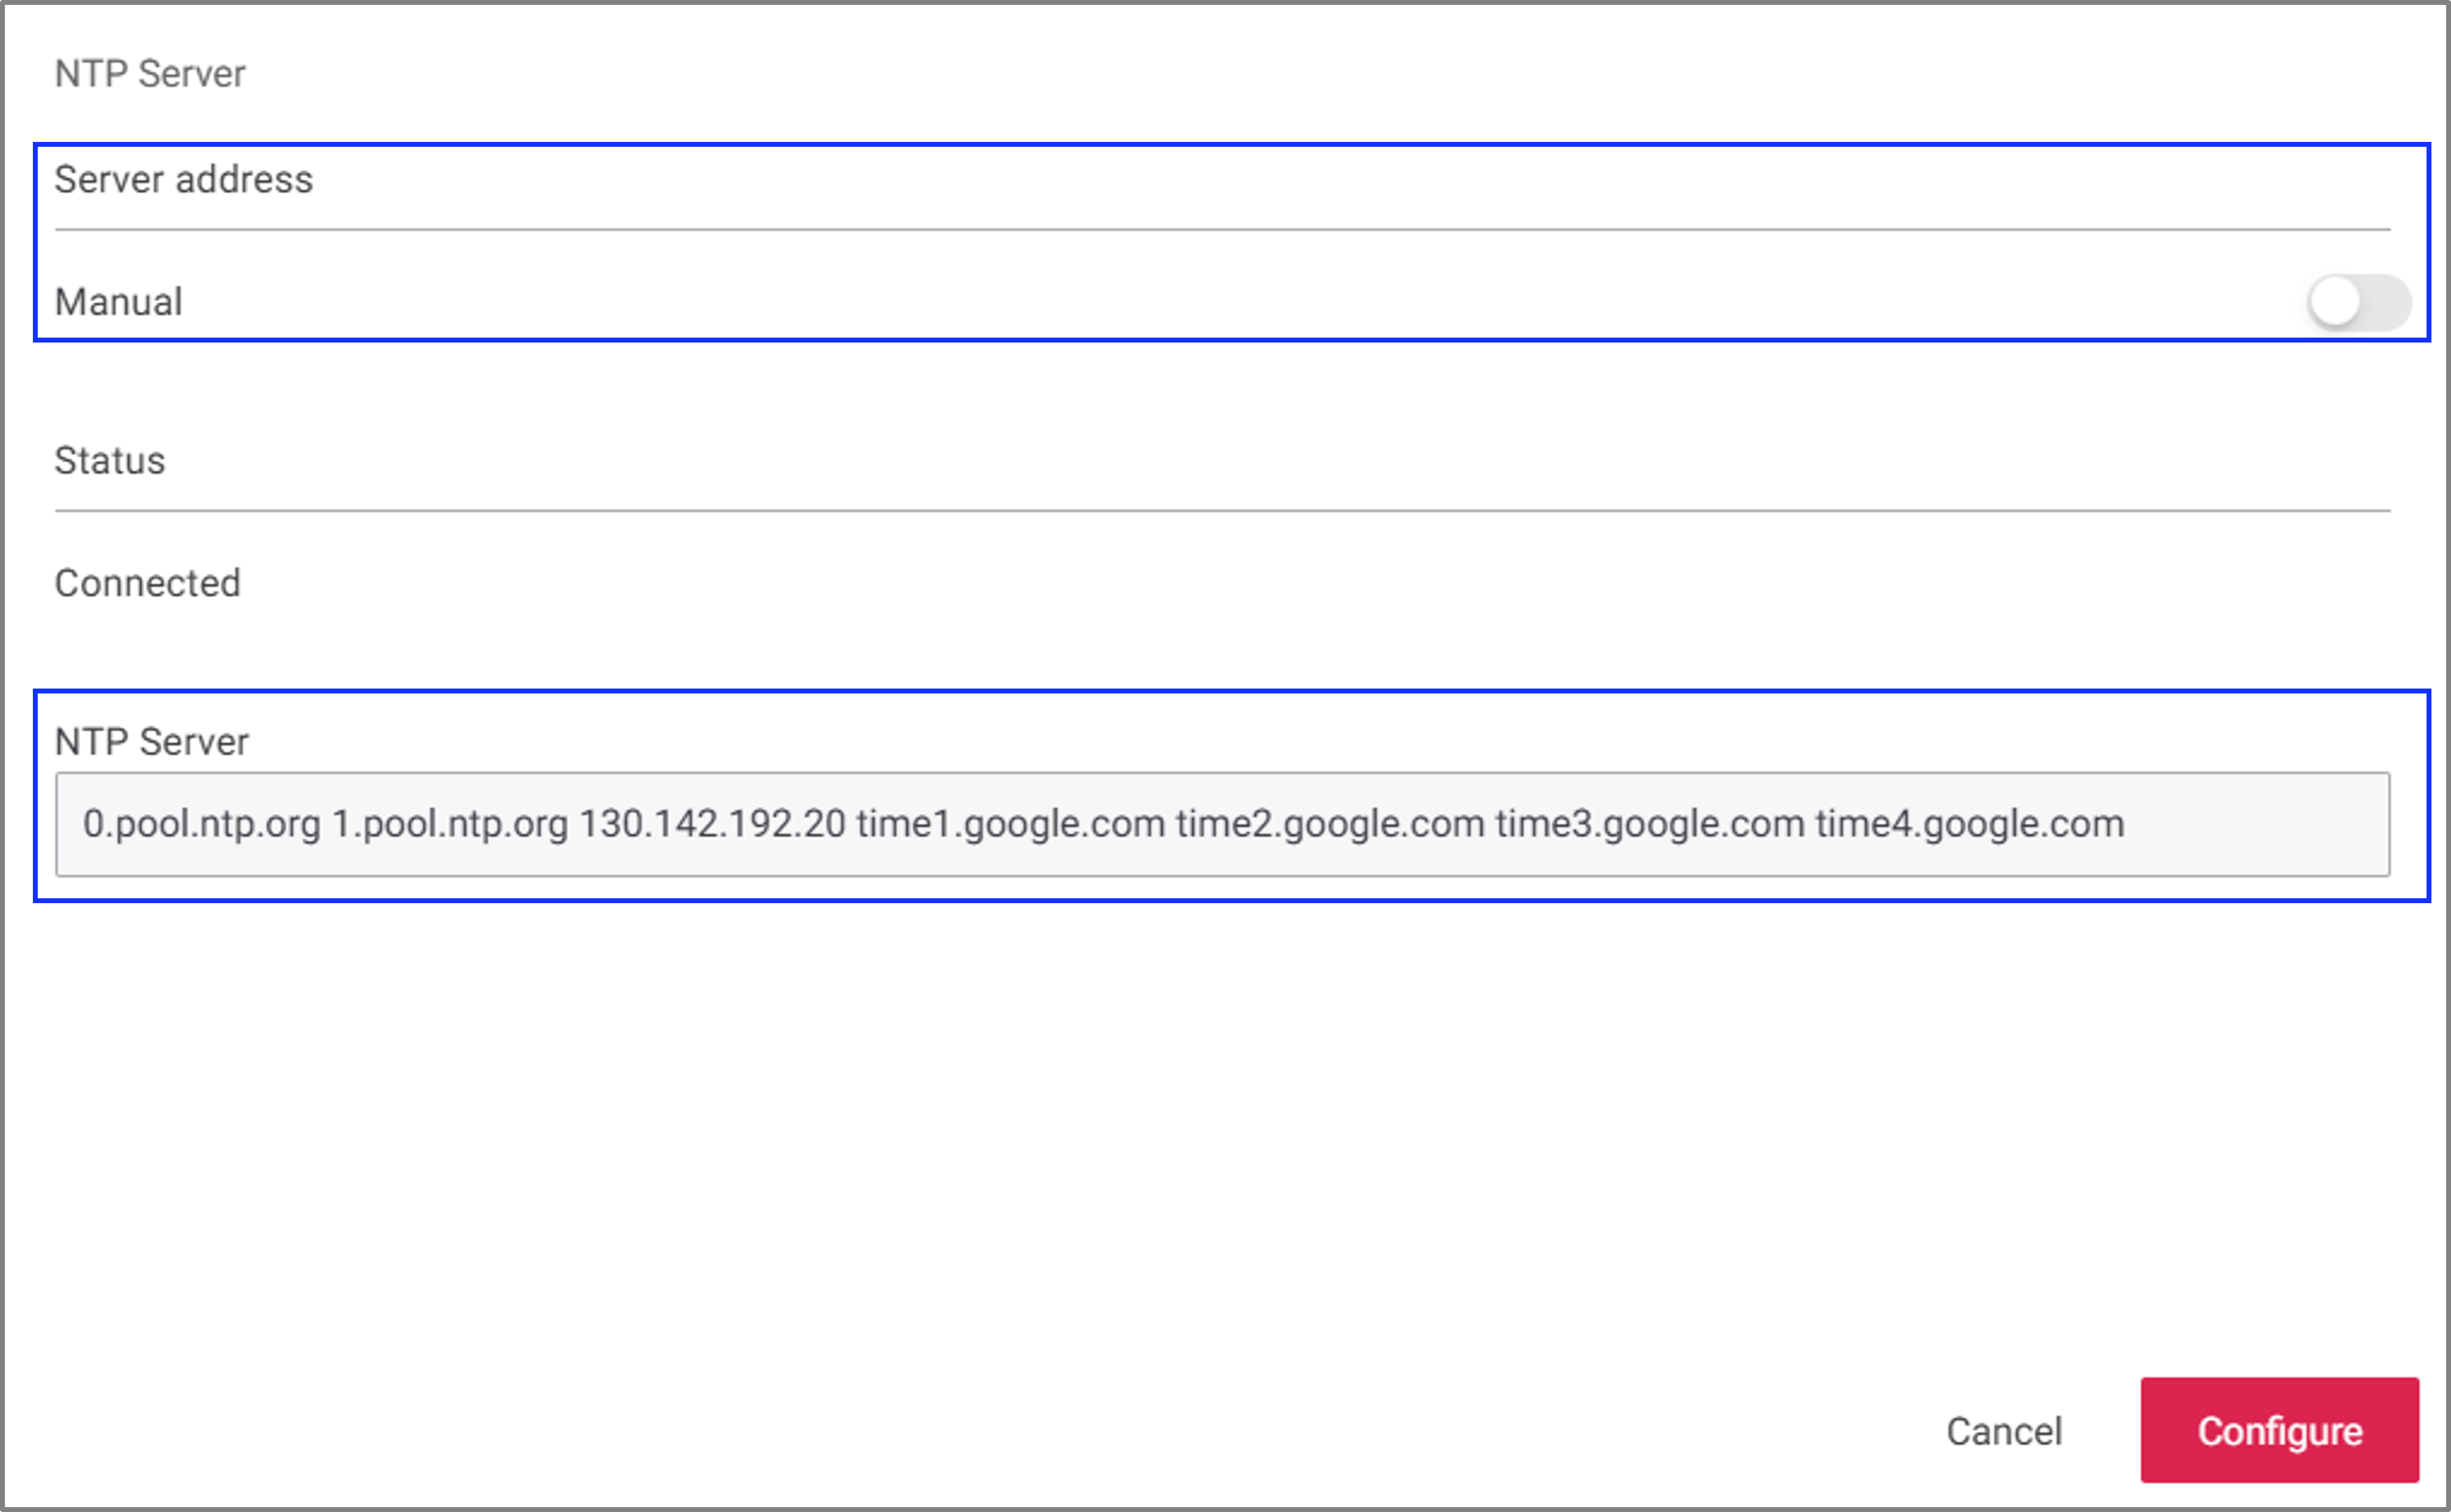
In the Server address field, click the toggle button to switch from Automatic to Manual mode.
-
In the NTP Server field, enter the hostname or IPv4 address of the NTP server.
Enter a hostname such as pool.ntp.org or an IPv4 address such as 192.168.1.1. Do not include URL prefixes such as http:// or https://. Hyphens (-) are not supported. -
Click Configure to save the changes.
Result: The gateway attempts to connect to the specified NTP server and synchronize its internal clock.
-
Update the project time zone if required.
-
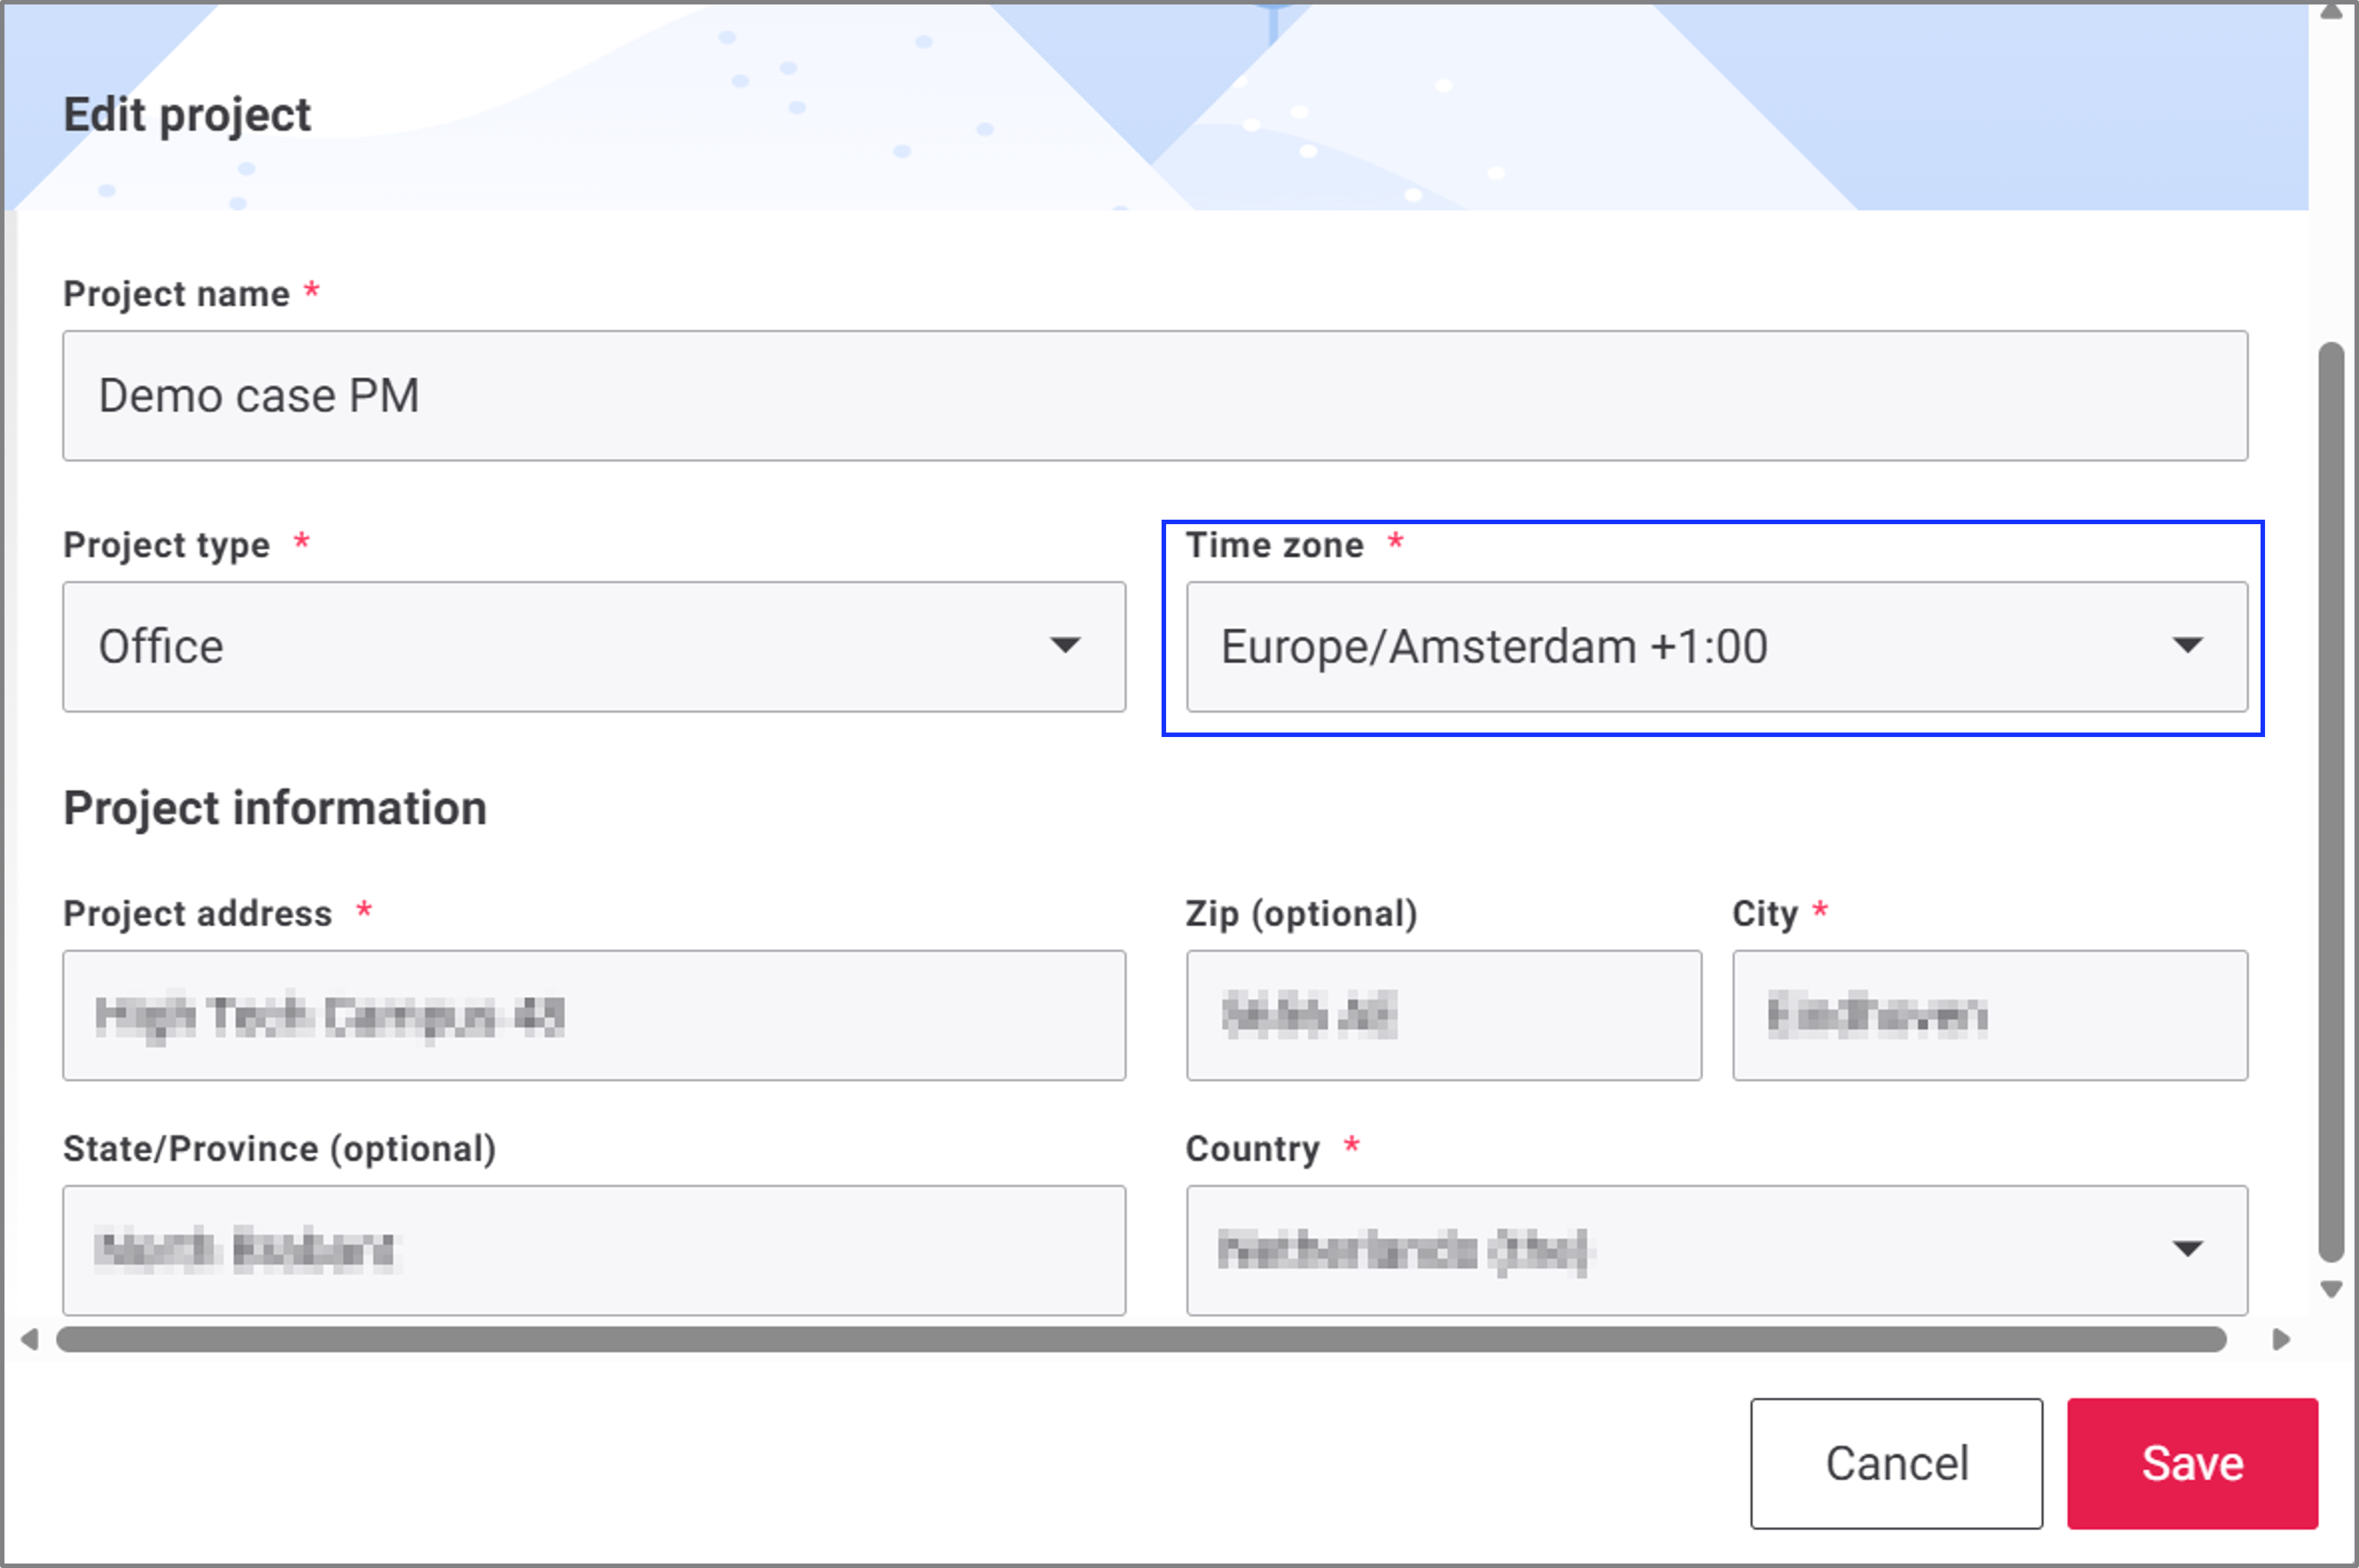
Navigate to the My Projects page, click the Actions menu (⋮) for the required project, and select Edit.
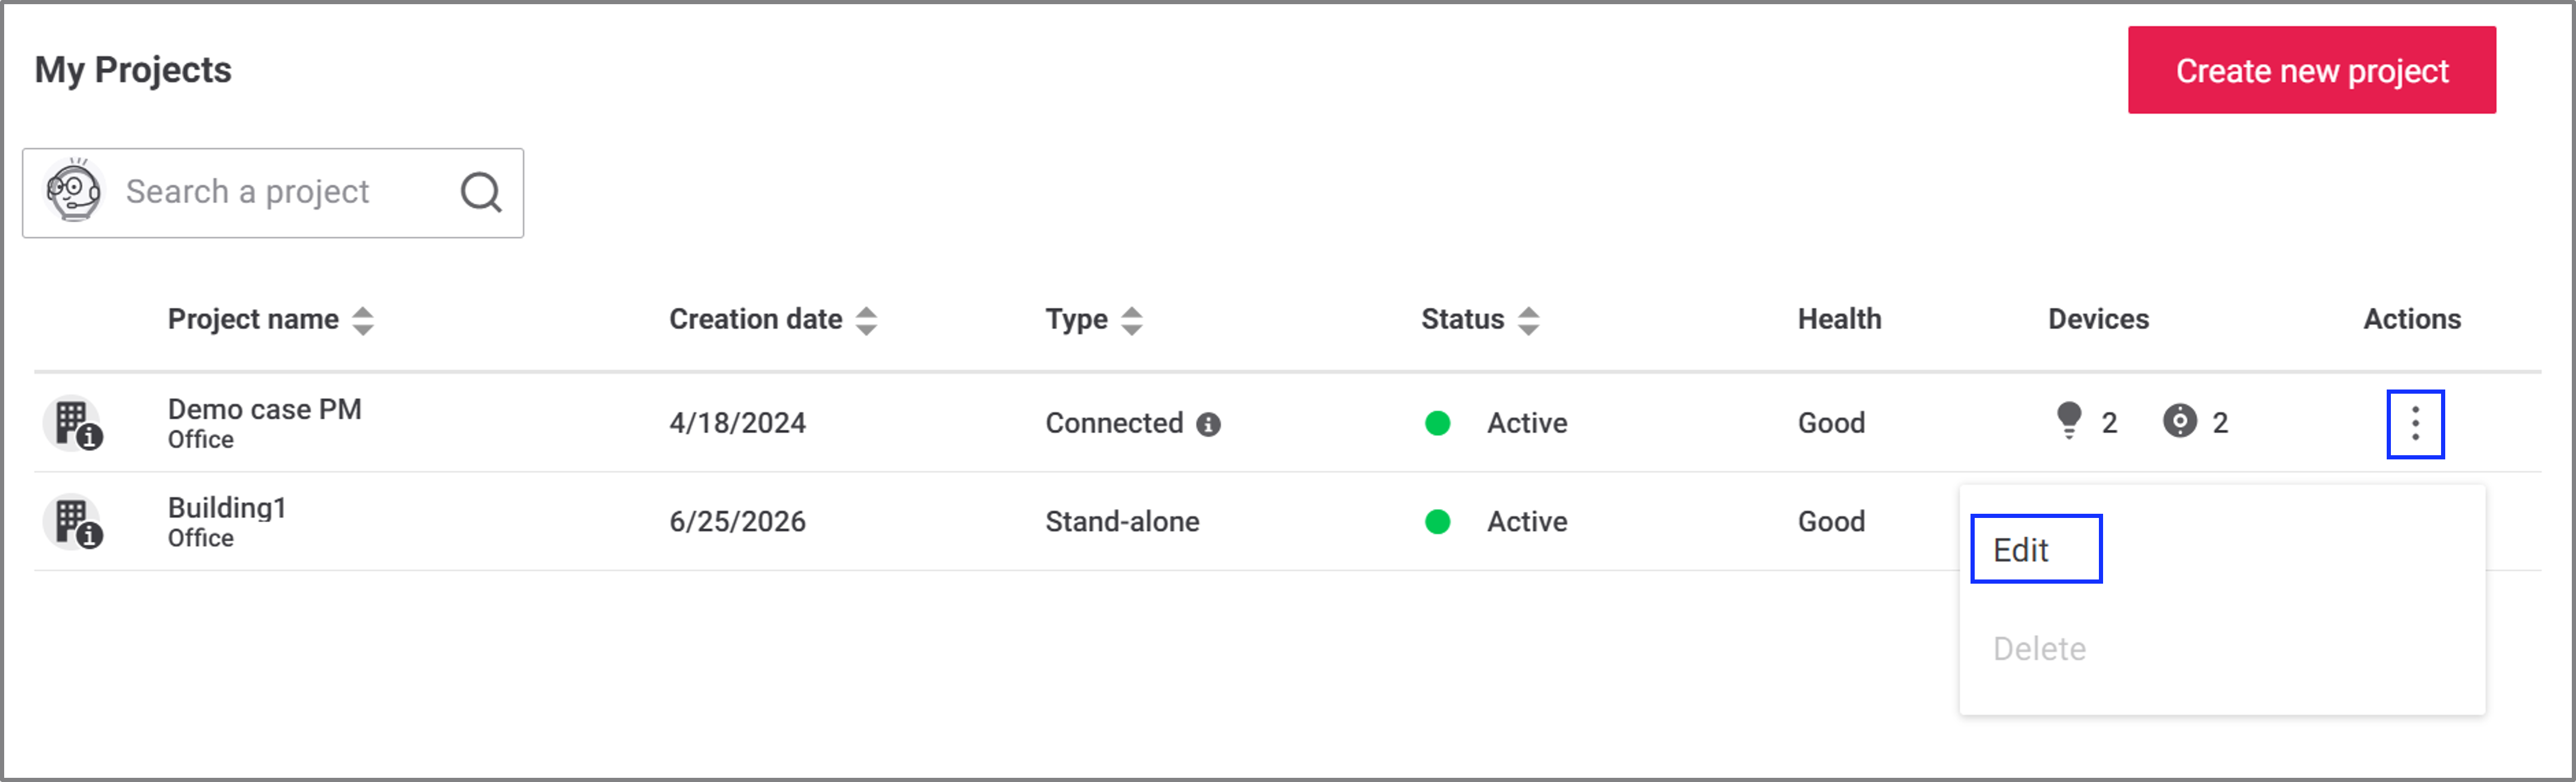
Result: The Edit project dialog box appears.
-
In the Time zone field, select the required time zone from the drop-down list.
-
Click Save.
-
Project-specific NTP server configuration using the mobile app
To configure a project-specific Network Time Protocol (NTP) server in the mobile app, follow these steps.
-
Navigate to the required project, and tap Setup.
-
In the Wireless light networks list, tap the network you want to check.
-
In the Network screen, tap Start to start commissioning the network.
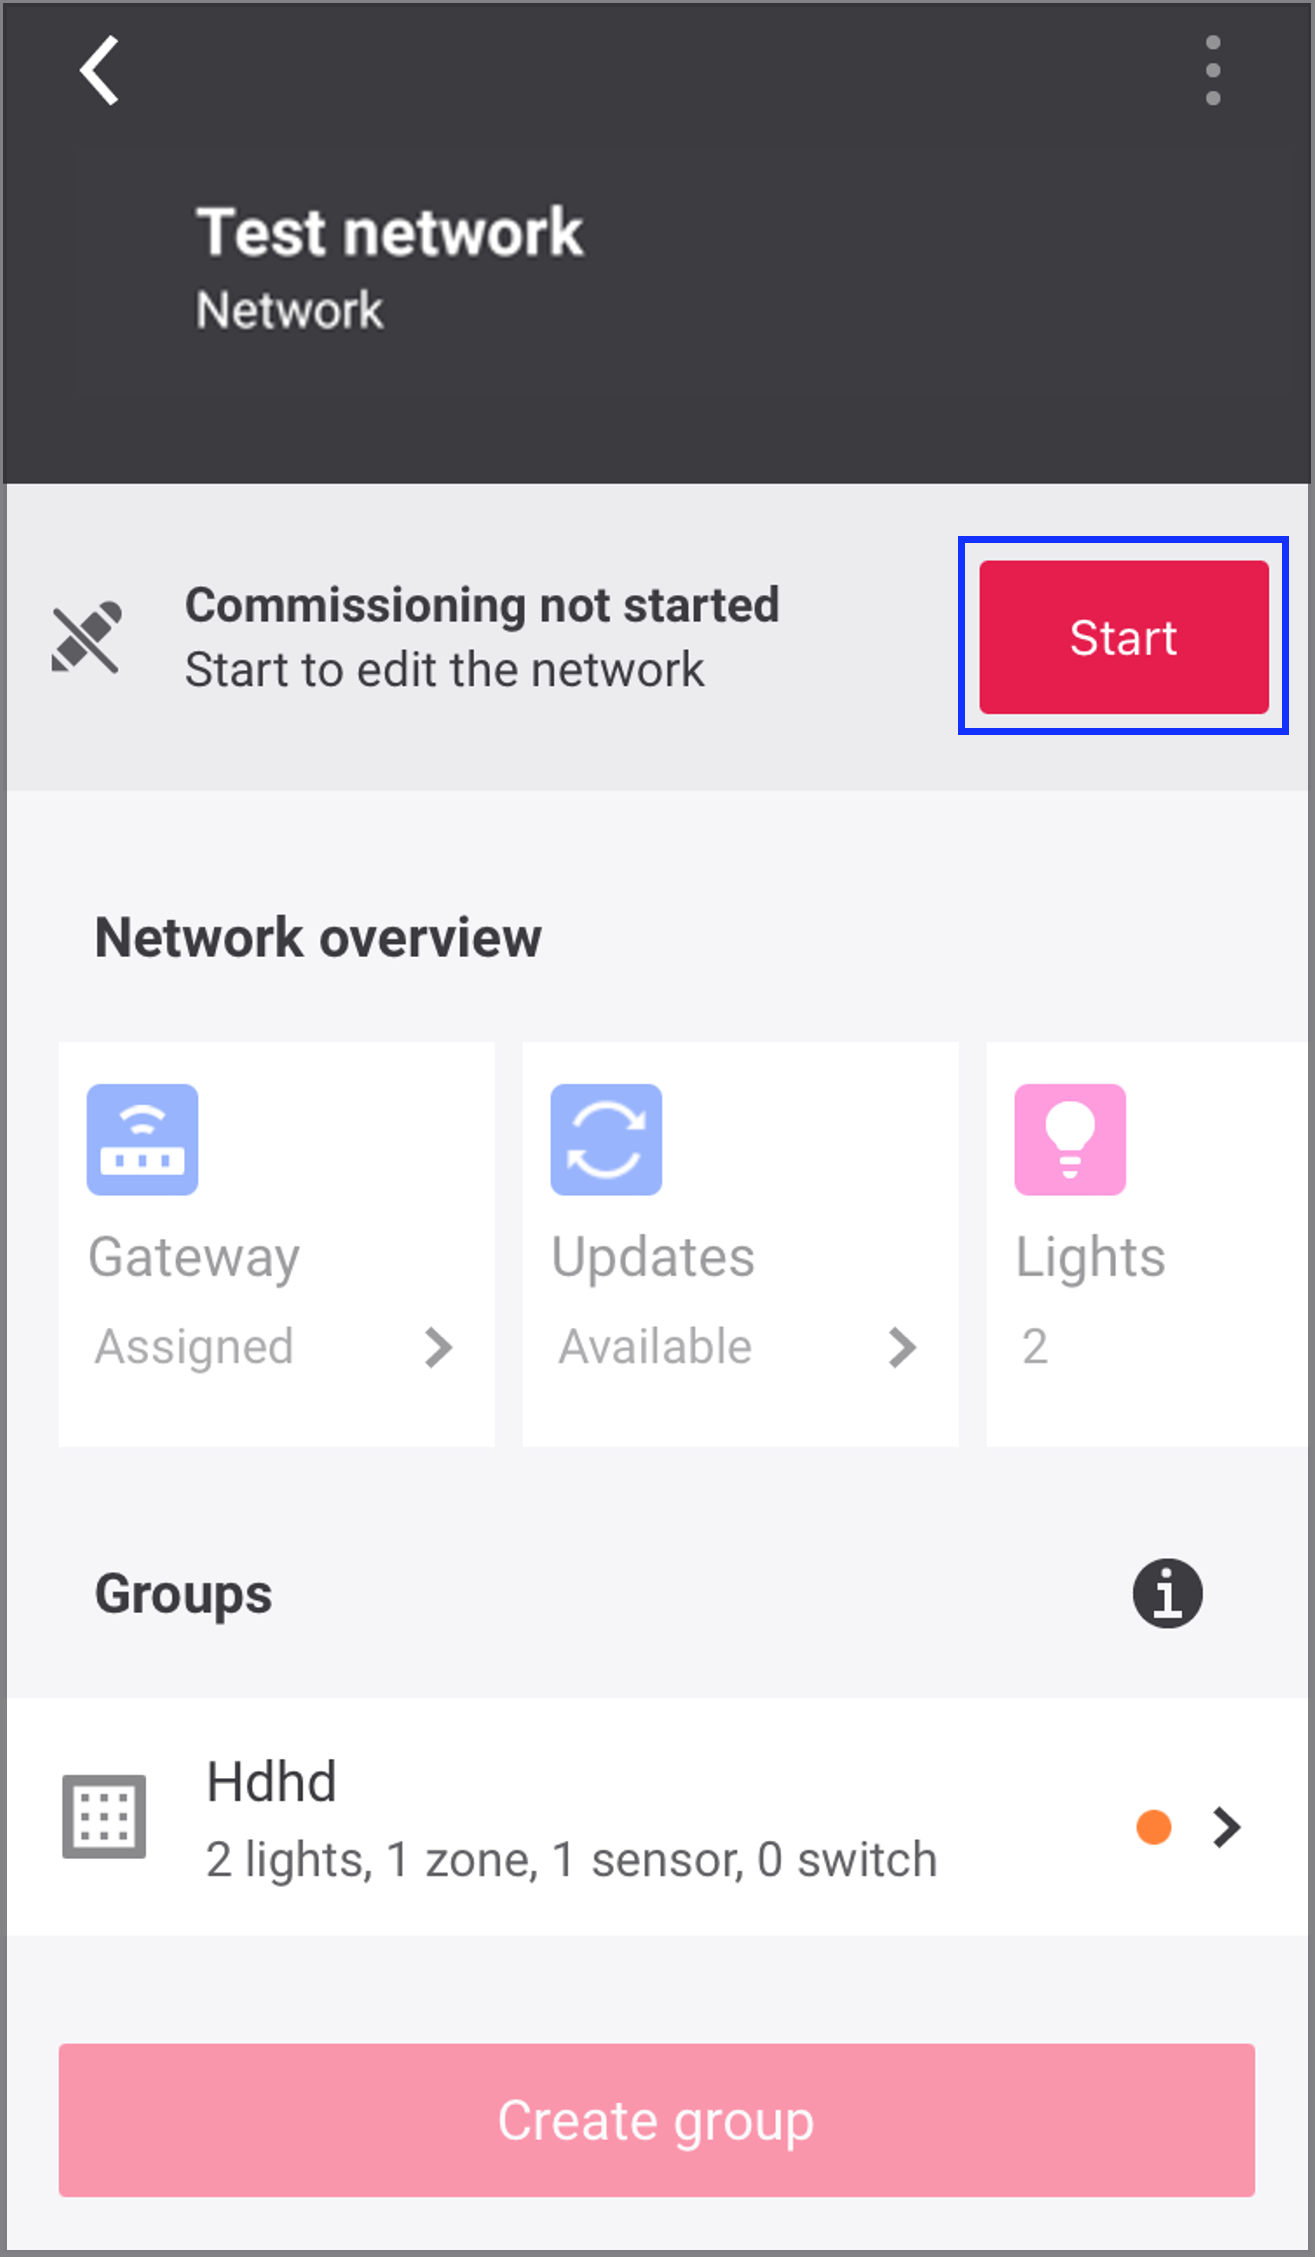
Result: The selected network details will be downloaded and locked to the mobile device for editing.
-
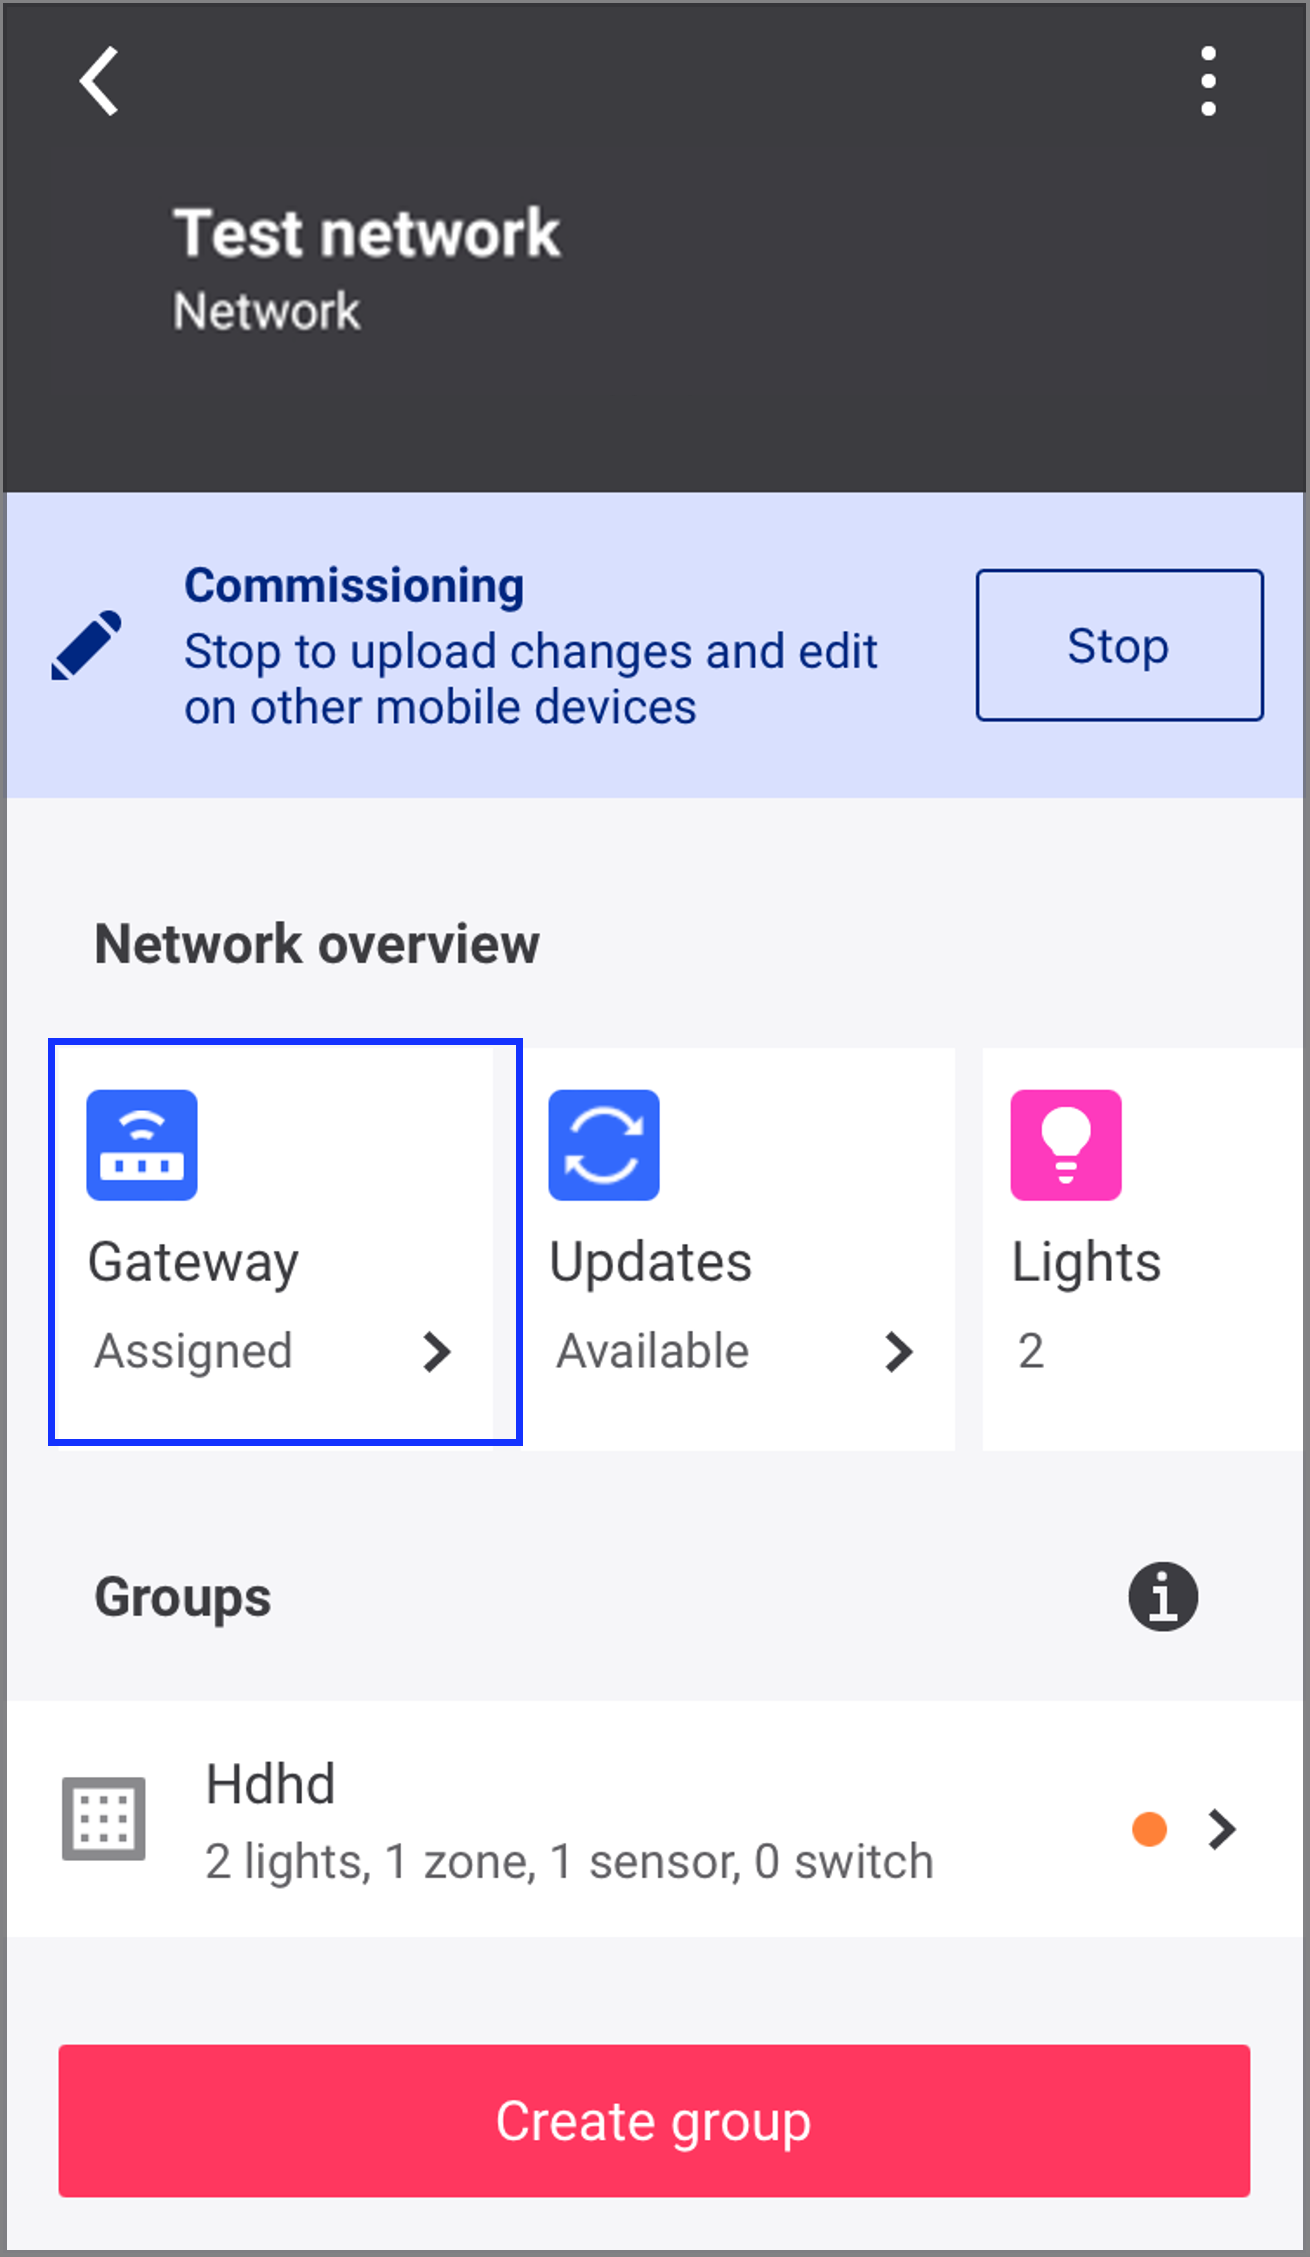
Tap Gateway from Network overview.
-
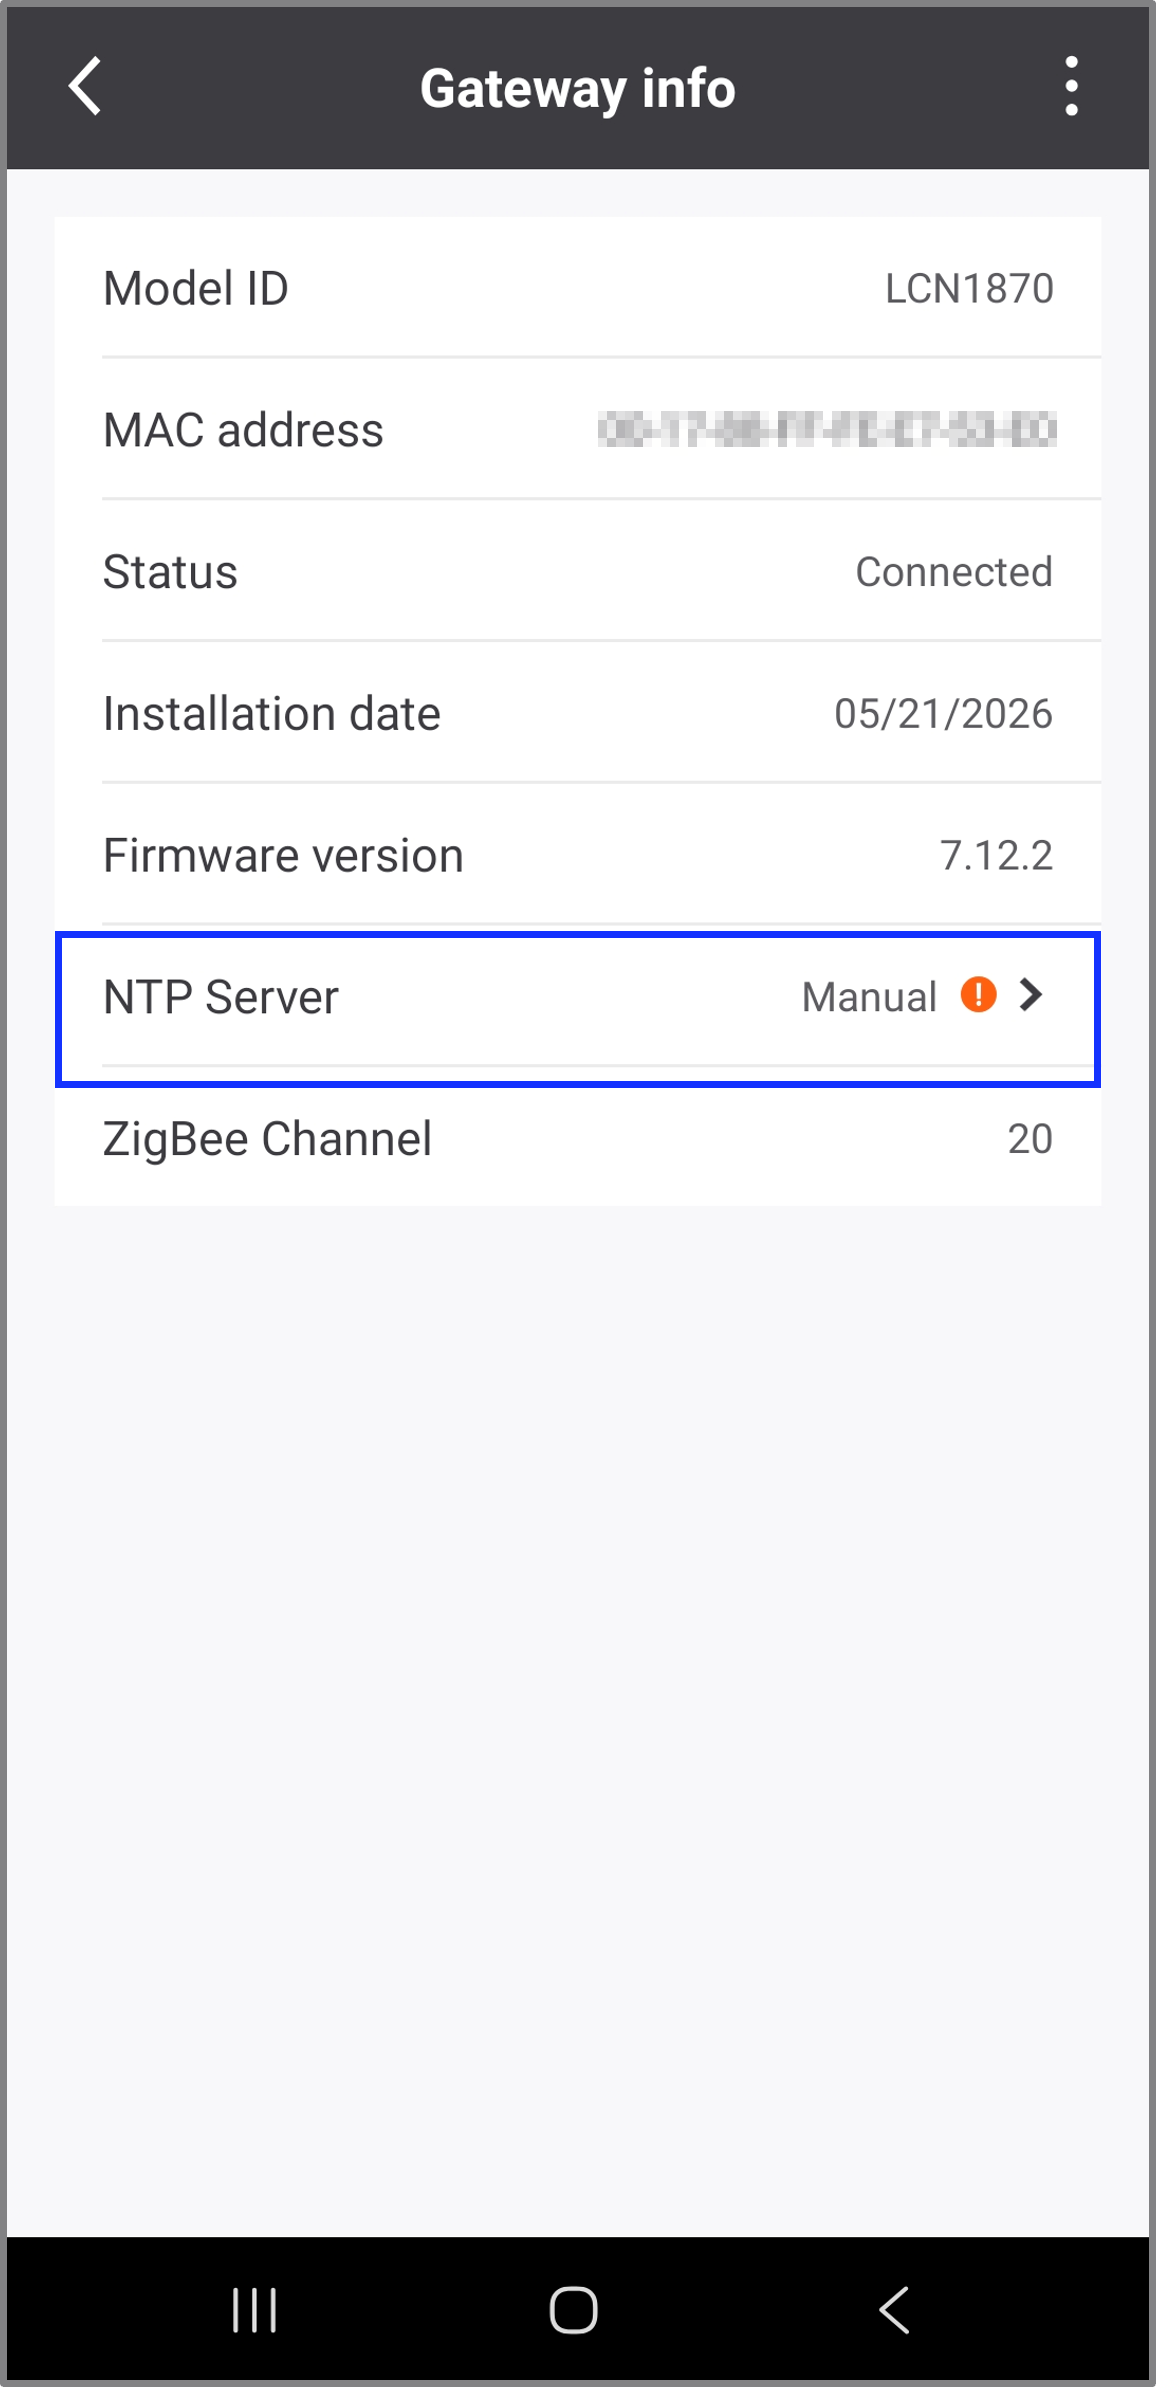
In the Gateway info screen, tap NTP Server.
-
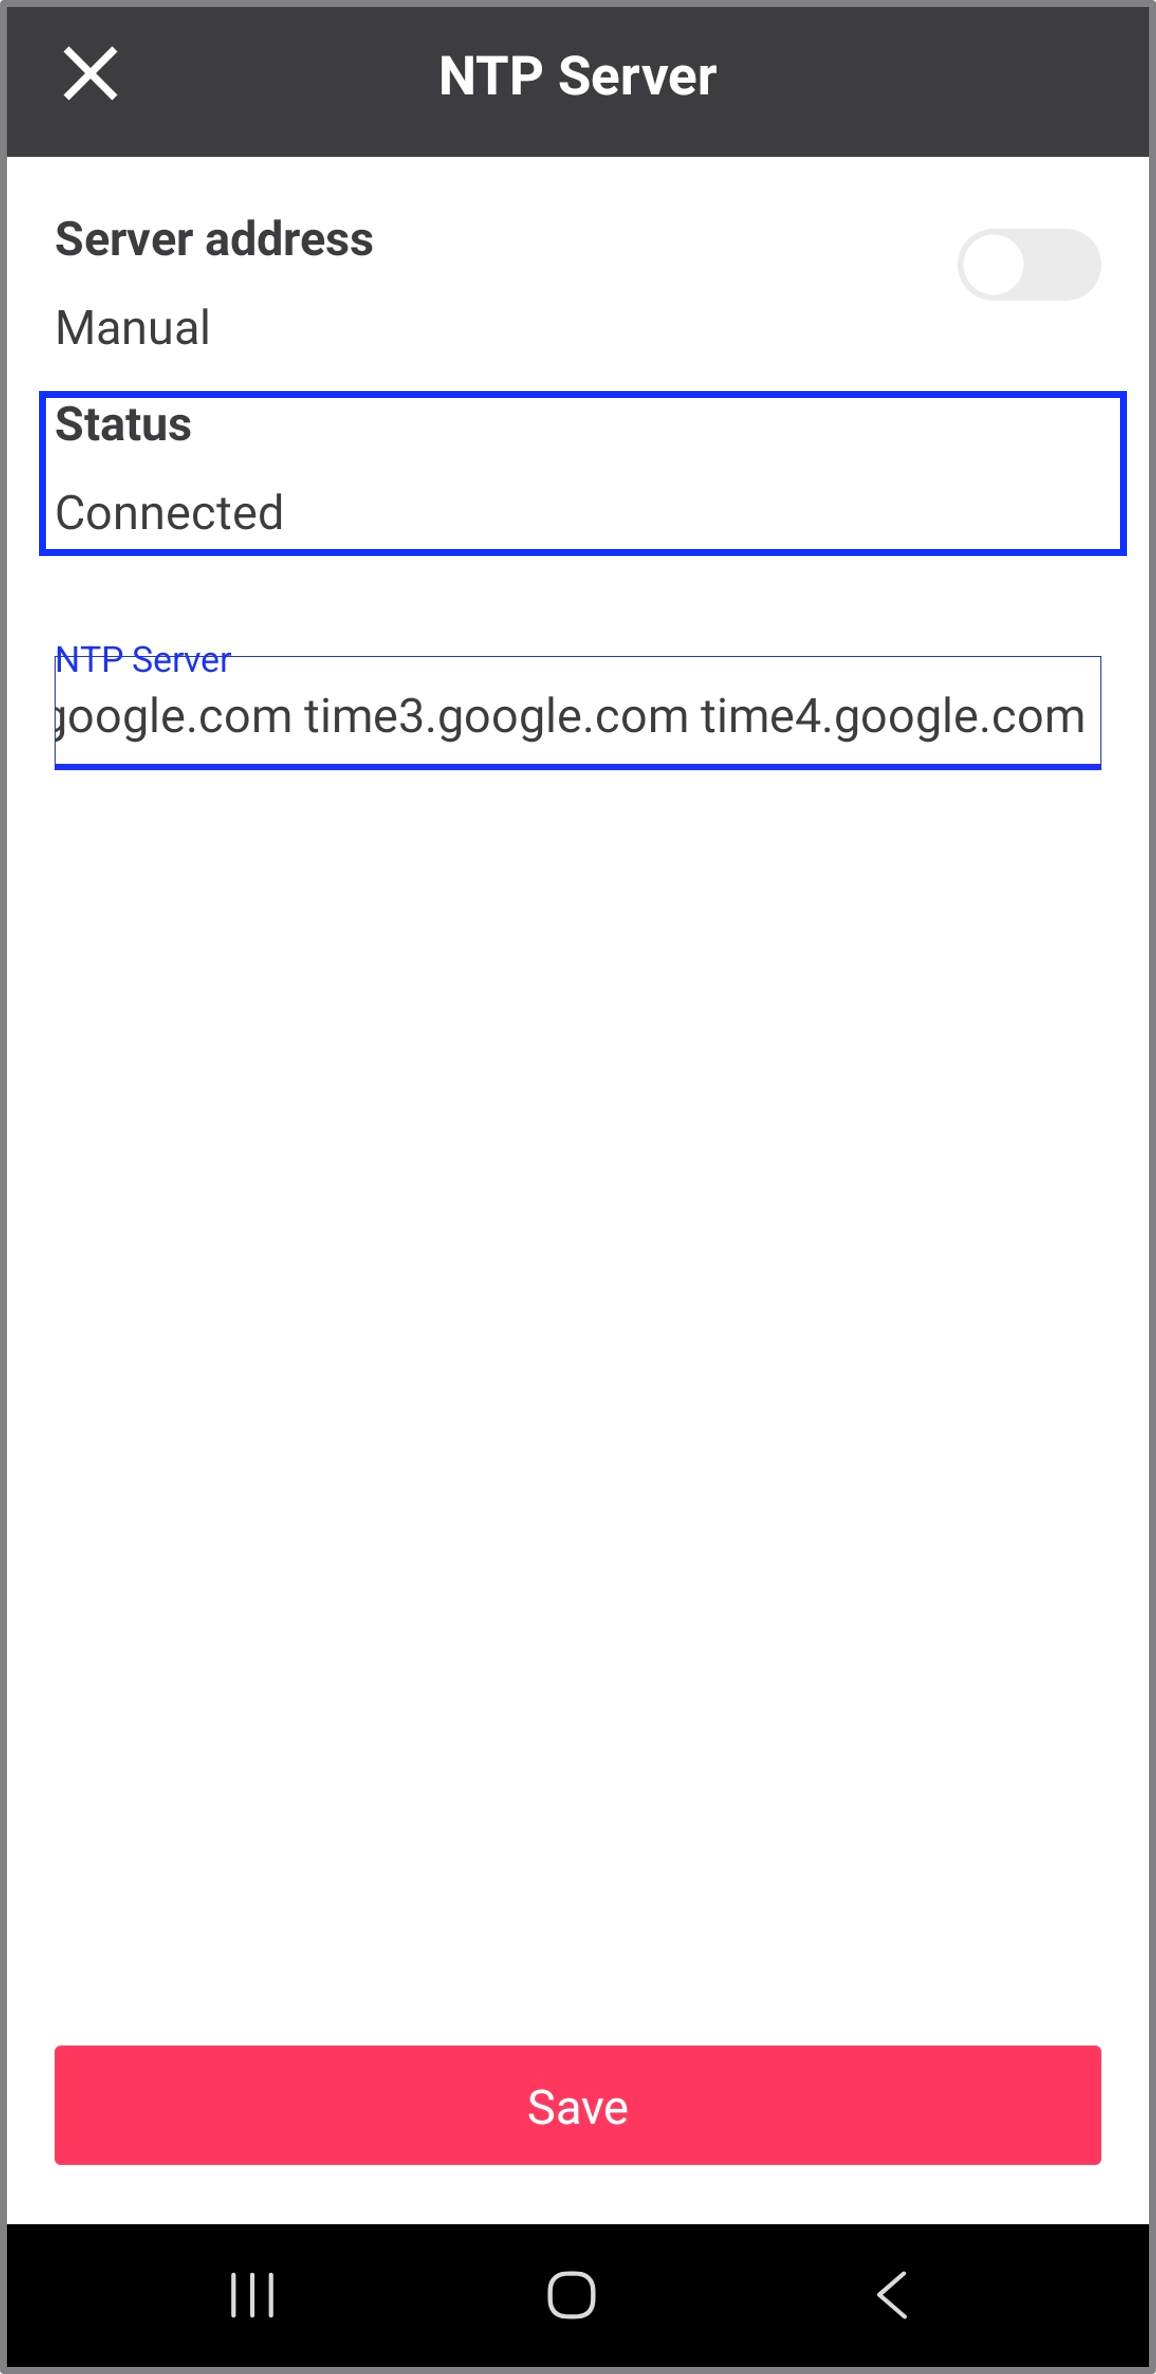
Verify the Status field displays Connected.
-
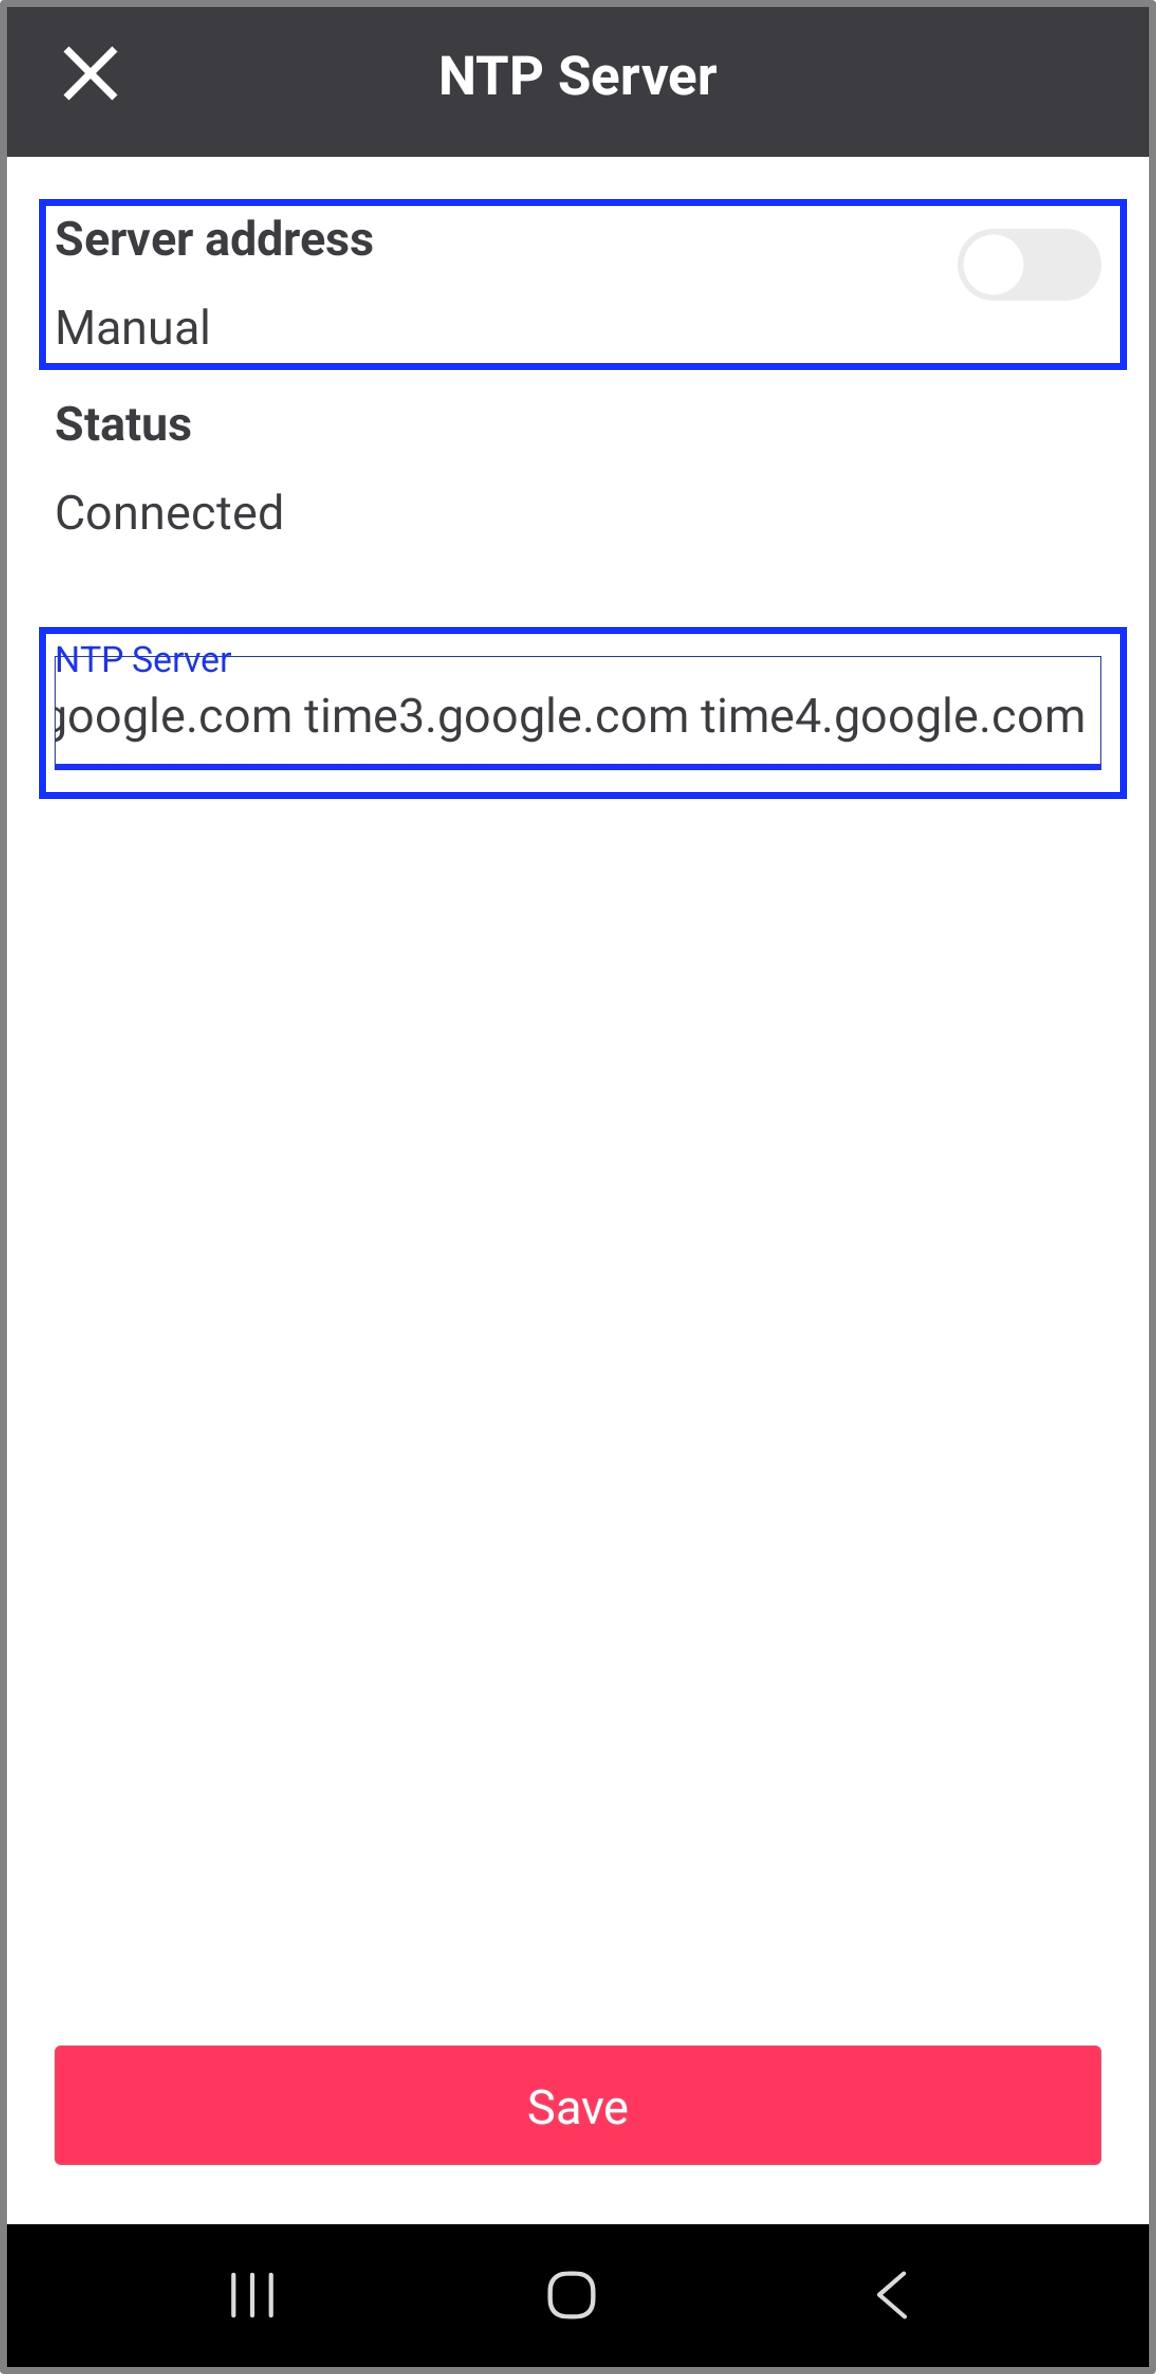
In the Server address field, tap the toggle button to switch from Automatic to Manual mode.
-
In the NTP Server field, enter the hostname or IPv4 address of the NTP server.
Enter a hostname such as pool.ntp.org or an IPv4 address such as 192.168.1.1. Do not include URL prefixes such as http:// or https://. Hyphens (-) are not supported. -
Tap Save to save the changes.
Result: The gateway attempts to connect to the specified NTP server and synchronize its internal clock.
-
Navigate back to the Network screen, and tap Stop to stop commissioning the network.
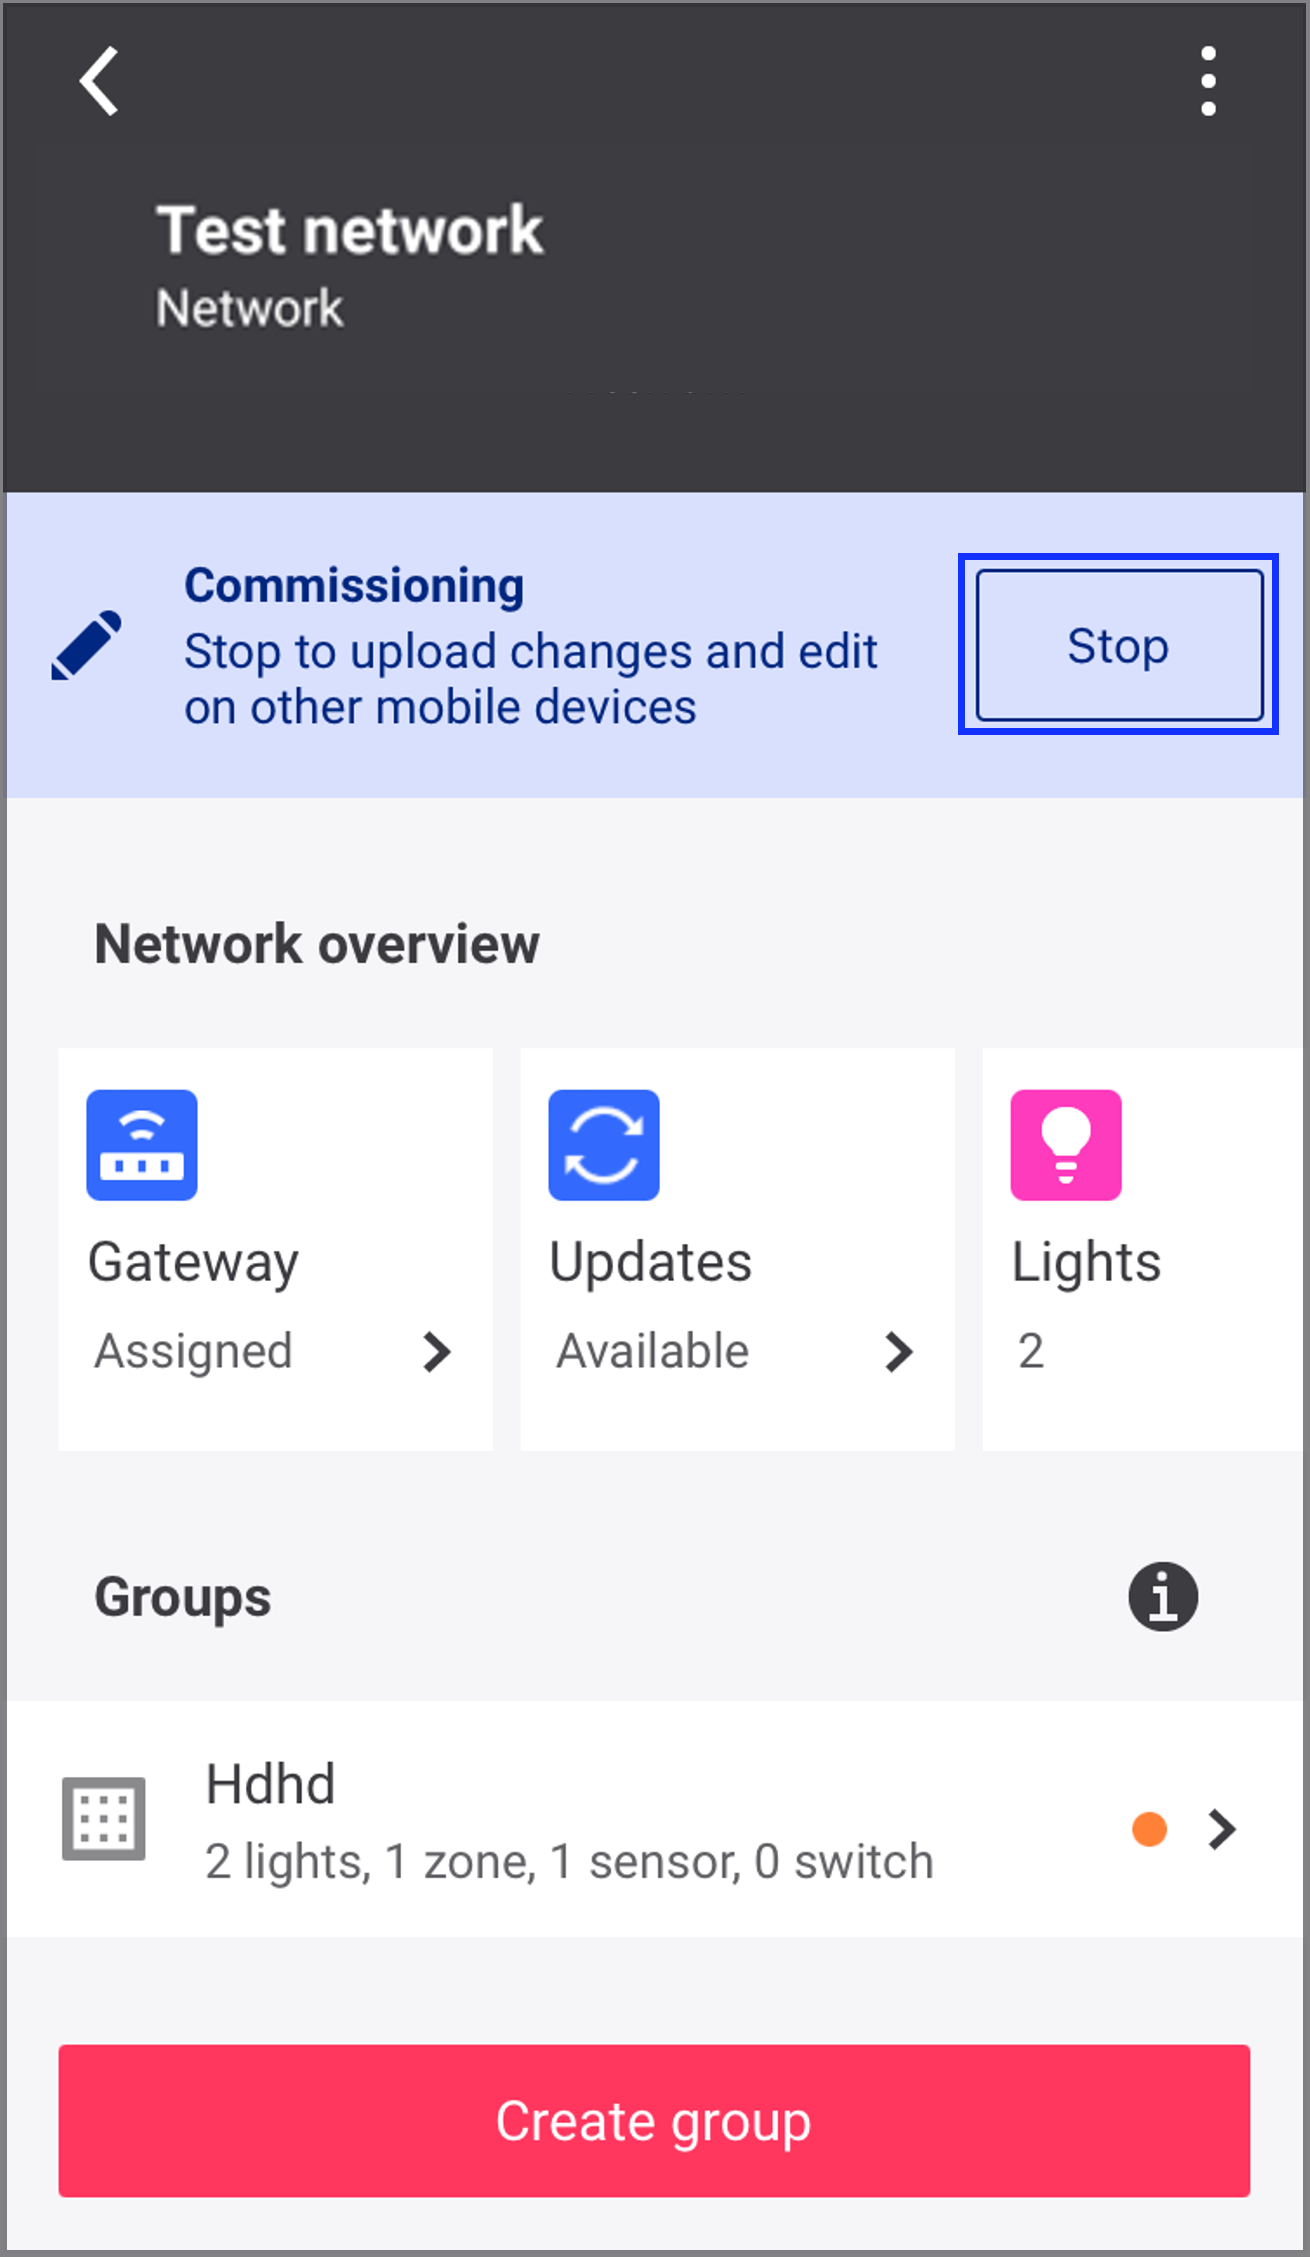
Result: The changes will be synced and the network is unlocked.
-
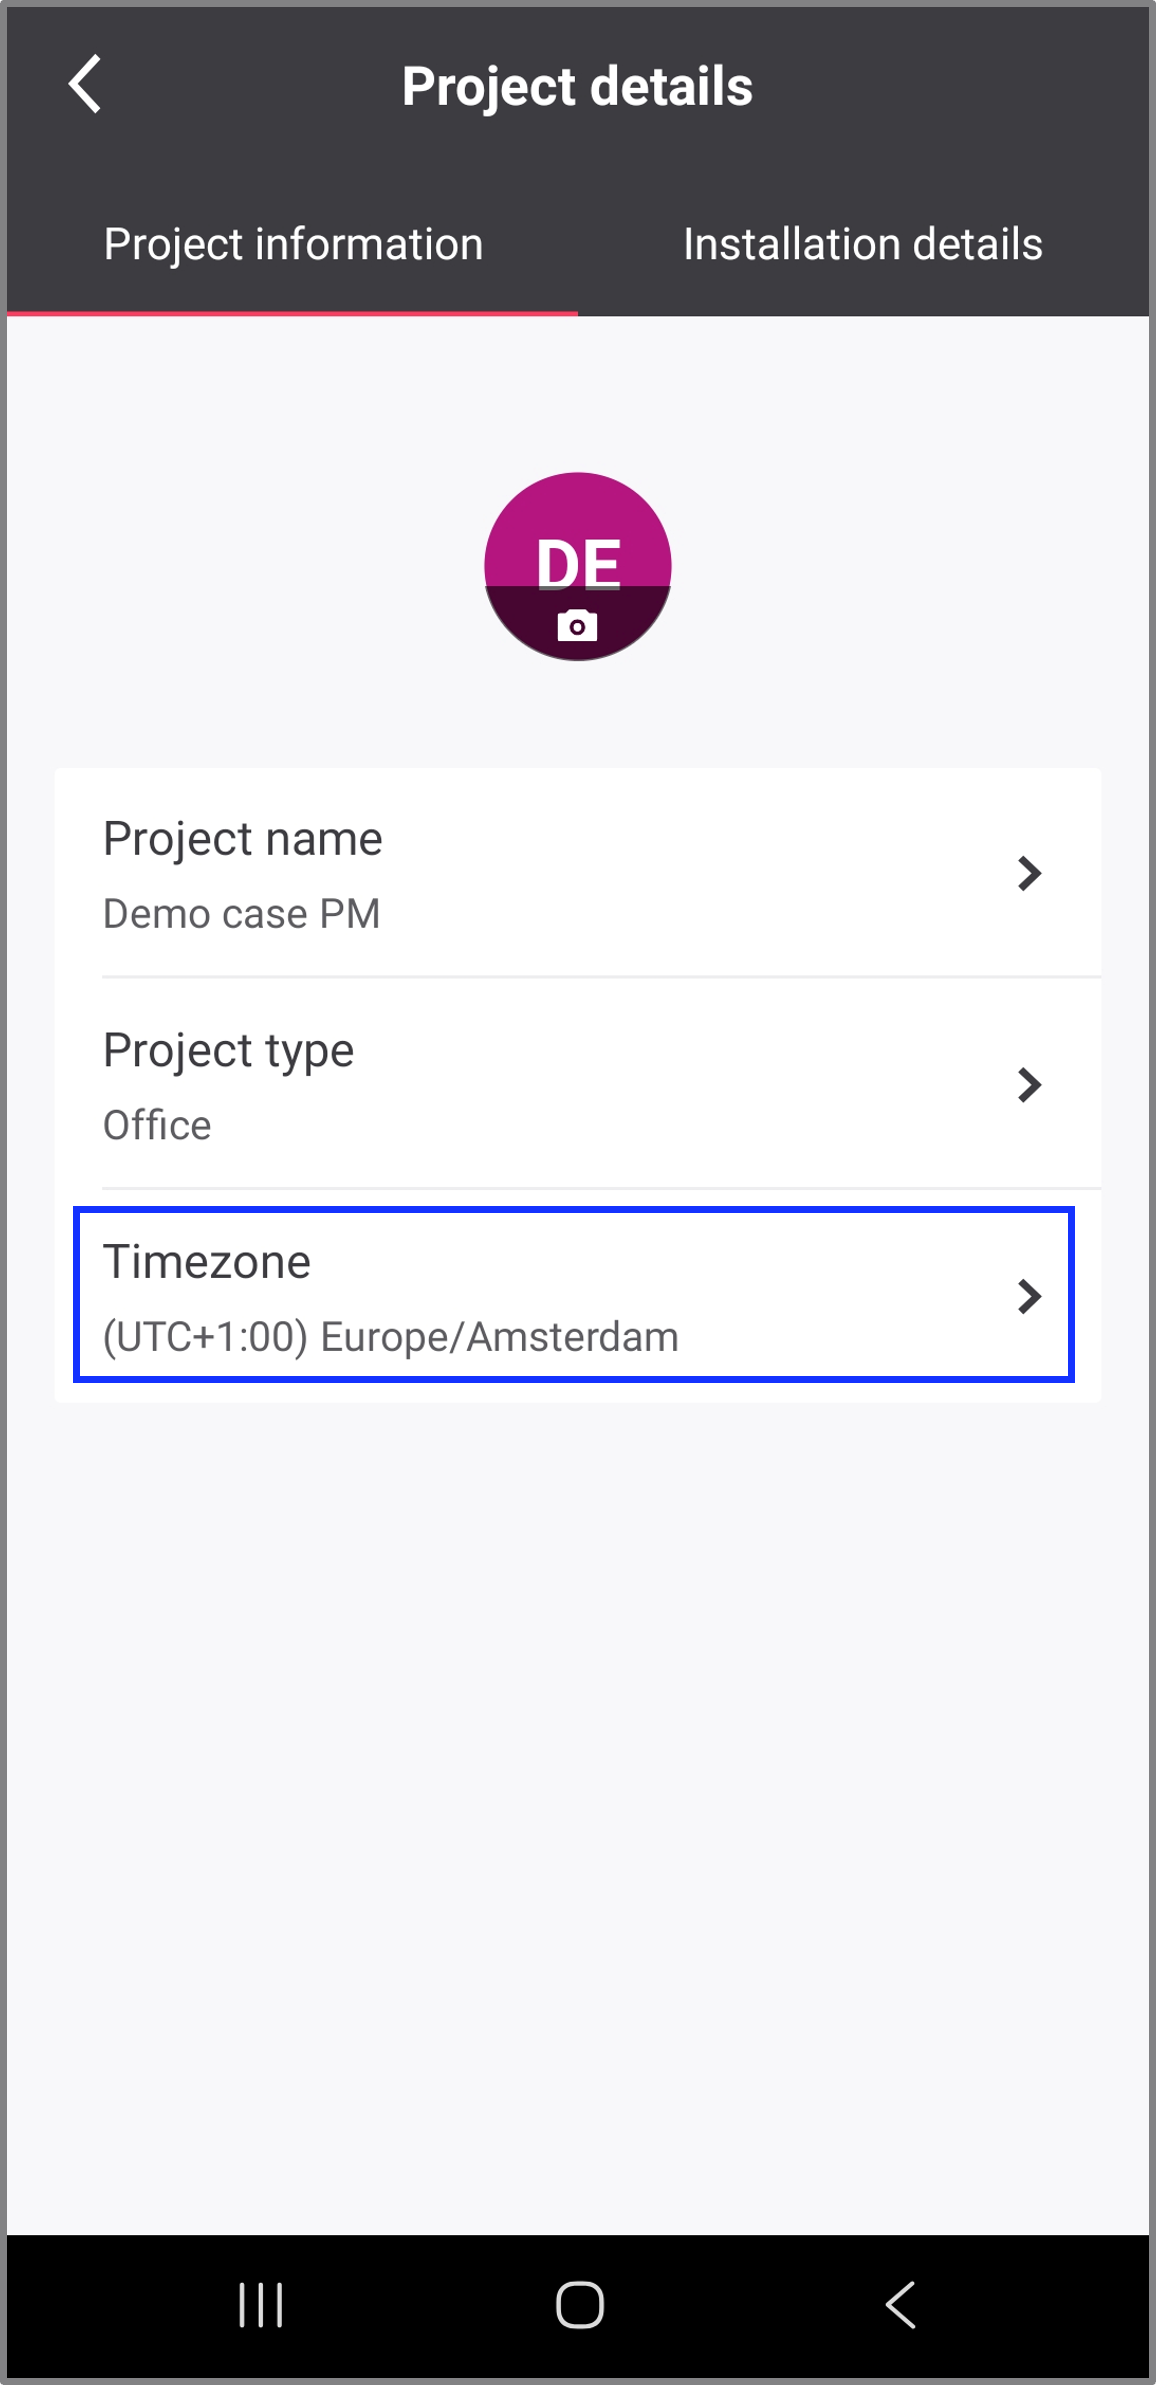
Update the project time zone if required.
-
Navigate to the required project, and tap Project details.
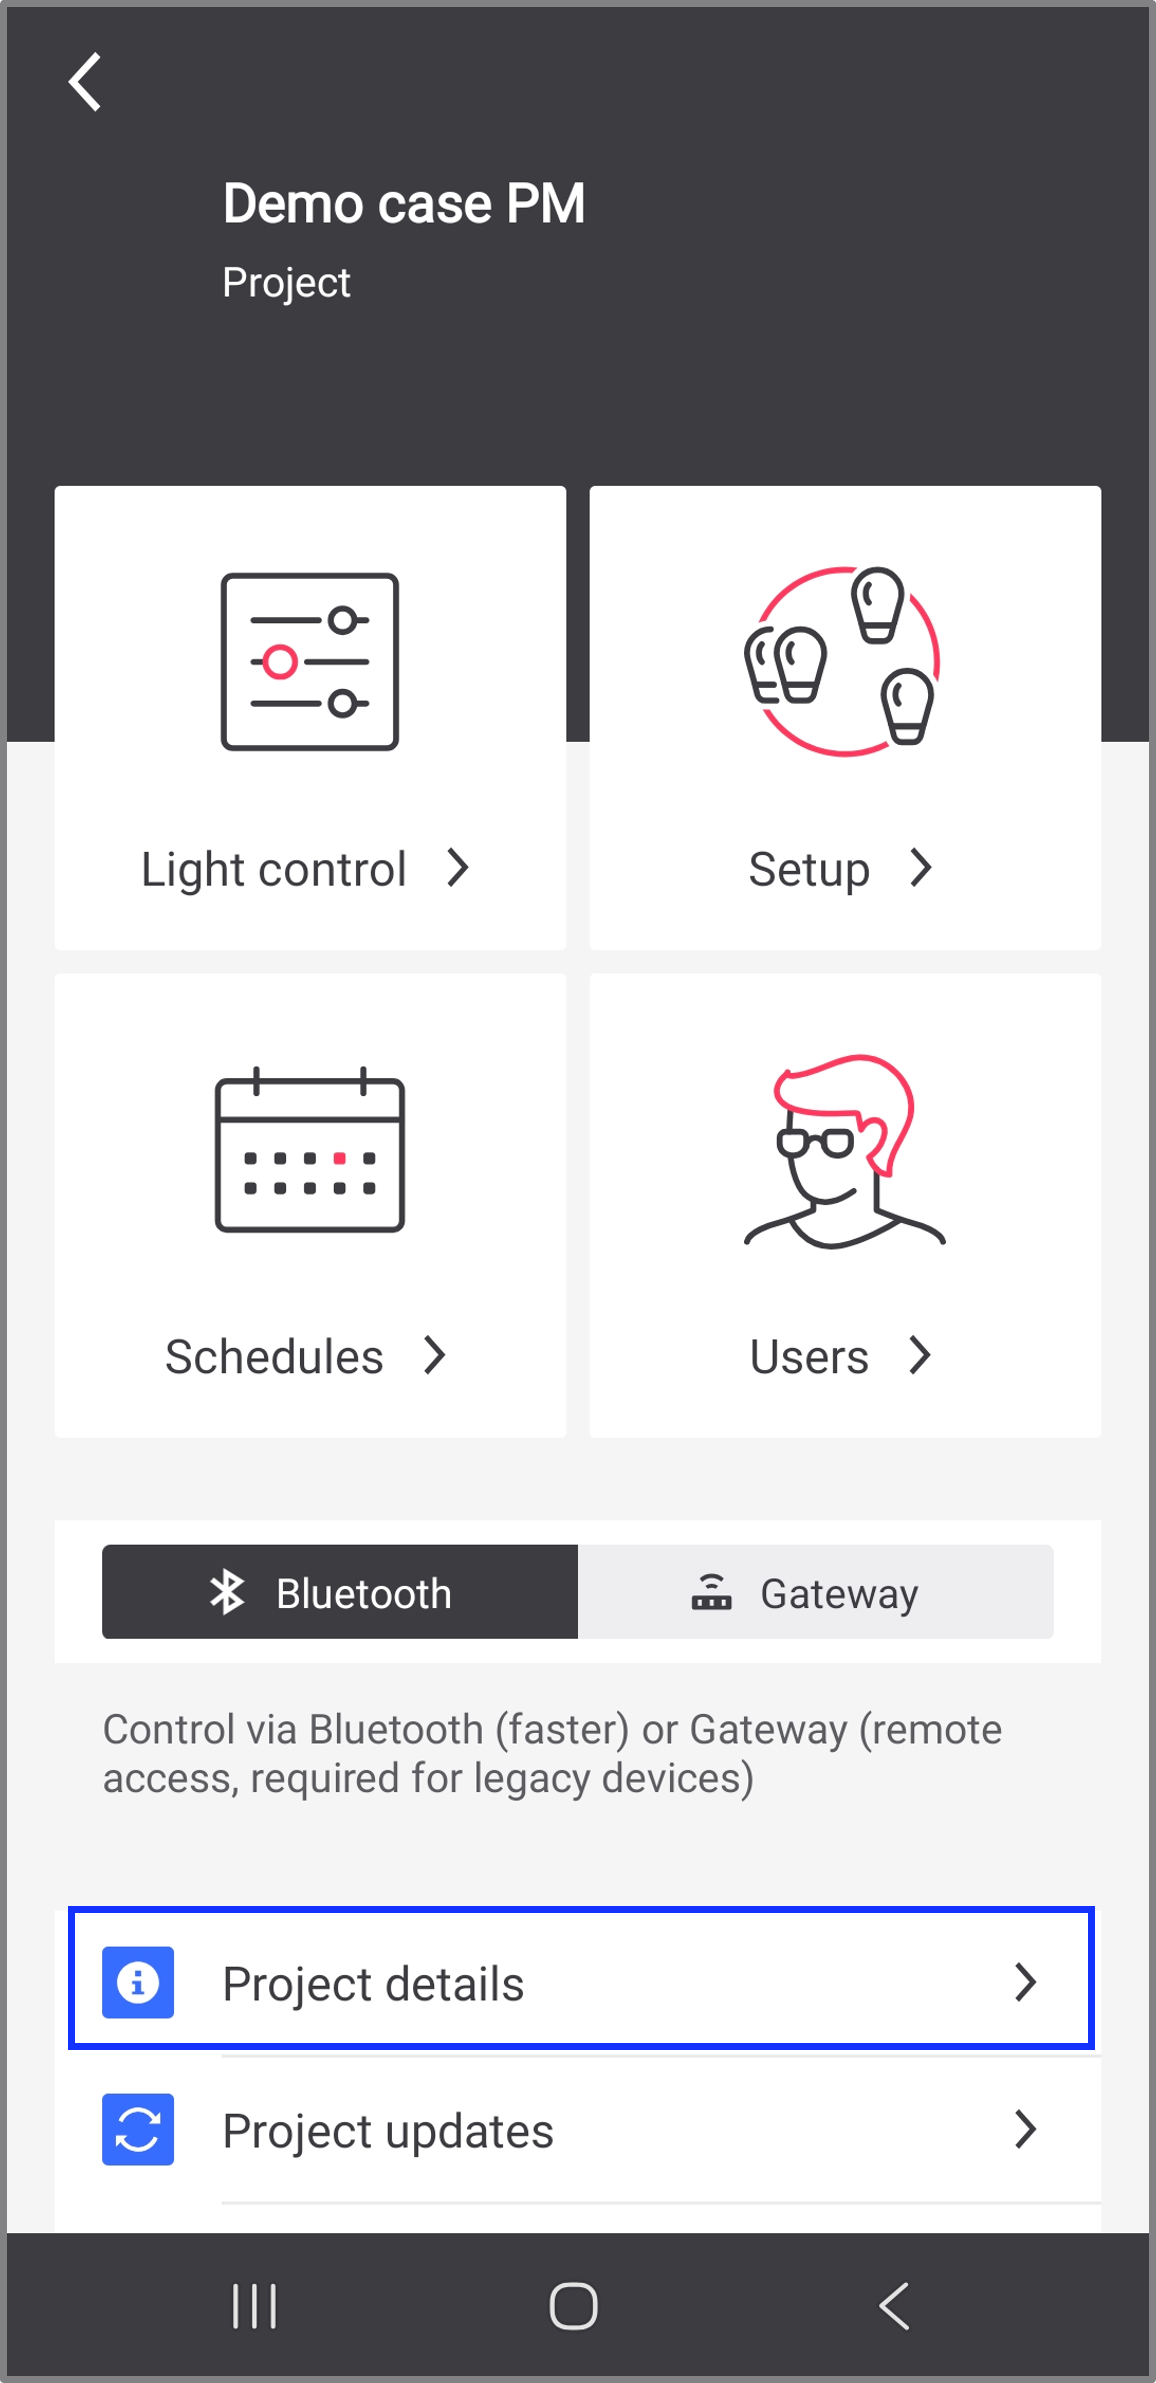
Result: The Project details page opens.
-
In the Project information tab, tap Timezone.
-
Select the appropriate time zone from the drop-down list.
-
Tap Save.
-