Create a project - app
-
Open the Signify Interact Builder app and log in with your email address and password.
-
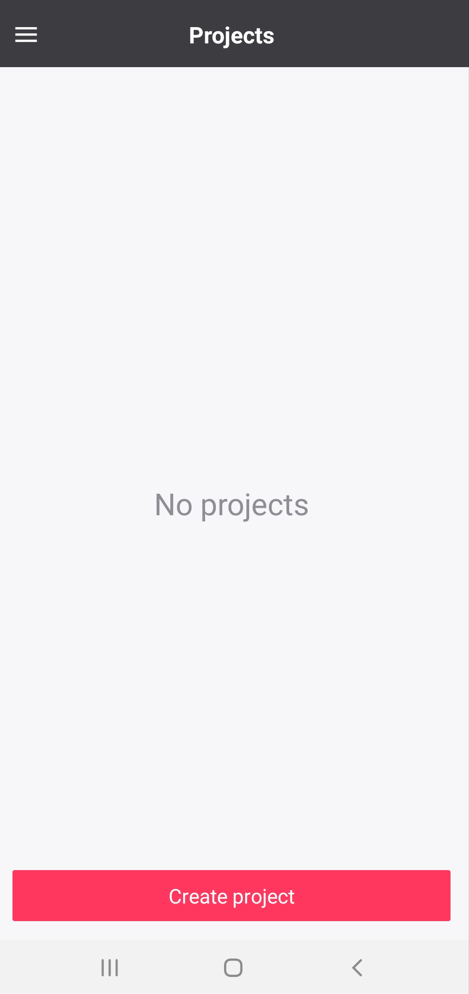
On the Projects screen, tap Create project.
-
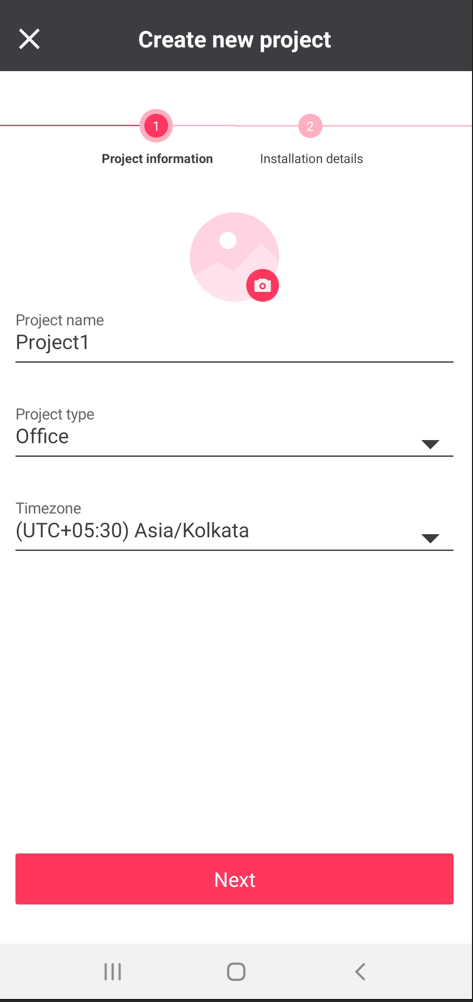
Type the Project name, then choose the Project type and Timezone from the dropdown lists and tap Next.
-
On the resulting screen, you can allow the app to use your current location to autofill the project location details. Tap your desired option.
-
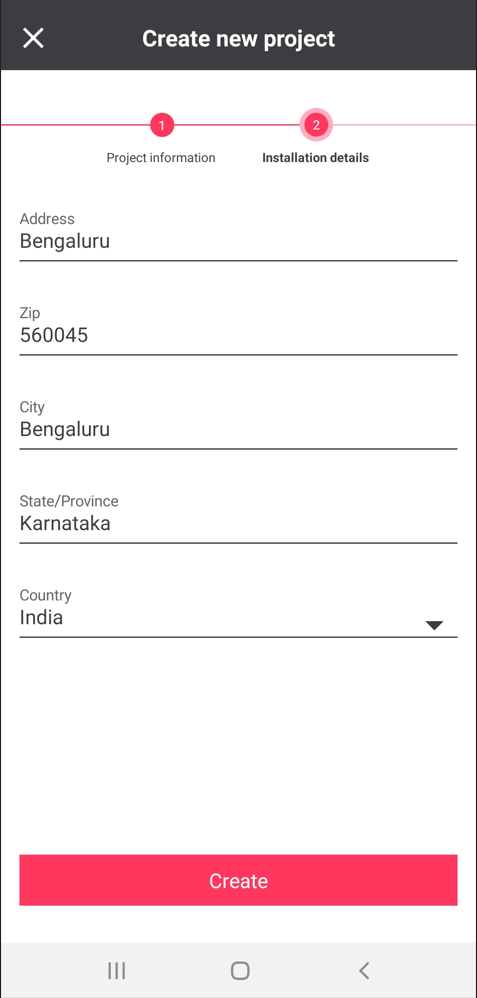
If you elected not to autofill the project location details on the previous screen, enter the address, then tap Create.
-
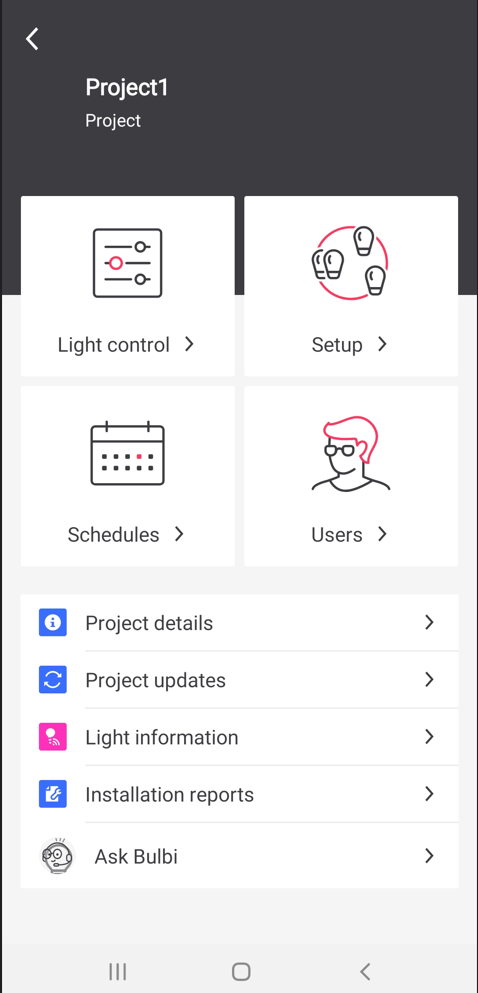
The main Project screen is displayed. From here, you can navigate to various screens within the project.
Create a network
-
From the Project screen, tap Setup.
-
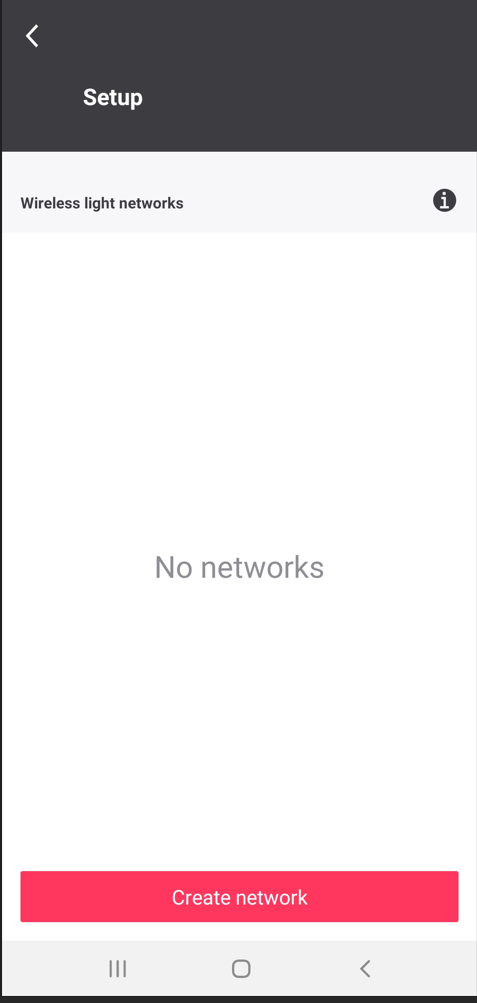
From the Setup screen, new experts are encouraged to tap the Info button, which is accessible at any time from the Setup screen. The resulting screens guide experts through a series of network instructions.
-
From the Setup screen, tap Create network.
-
Type a name for your network, select an appropriate Zigbee channel, then click Create.
Pay attention to the note under the Zigbee channel selection drop down menu and take care to avoid using the same Zigbee channel for physically adjacent networks in your project. This will avoid scenarios where too many nearby networks are using the same Zigbee channel, which can cause wireless interference in certain cases. 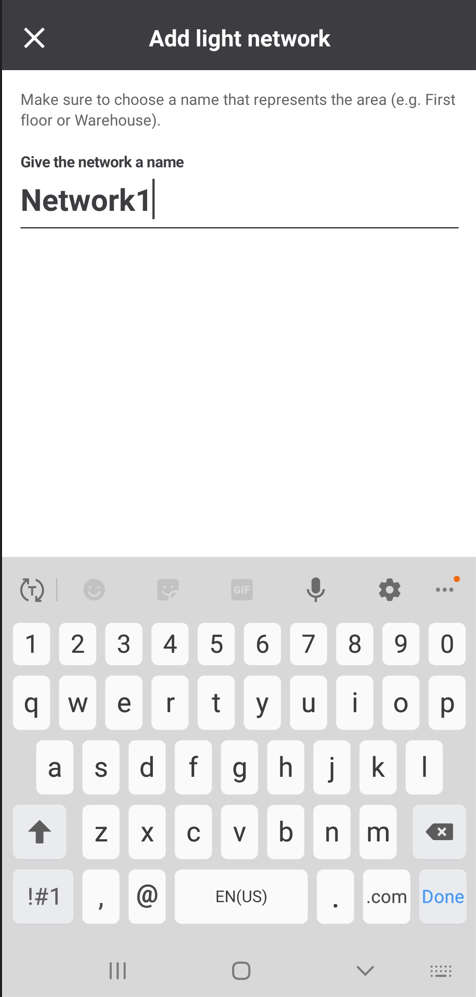
-
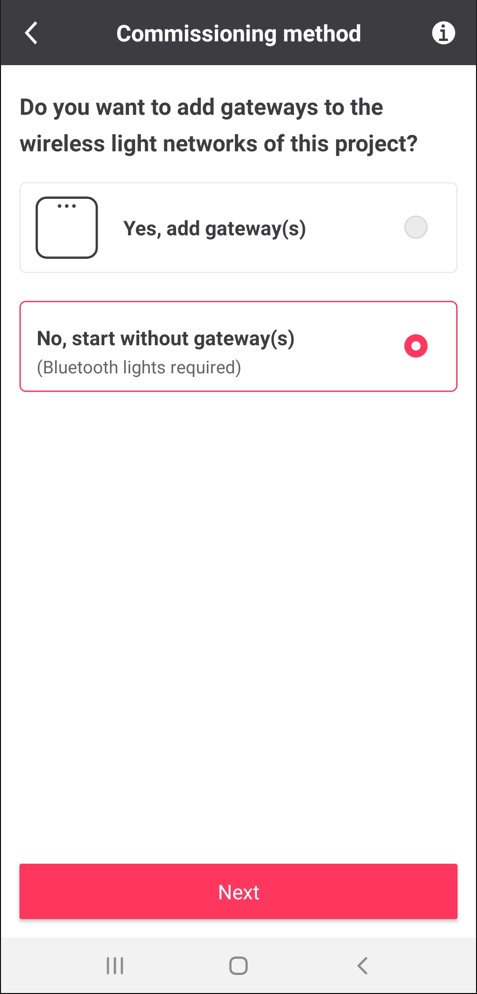
Select No, start without gateway(s). This is highly advisable even if your project requires gateways. Adding gateway(s) after localizing all the Interact ready luminaires and devices to the network and setting the desired behavior will make the deployment process faster. Tap Next to create the network.
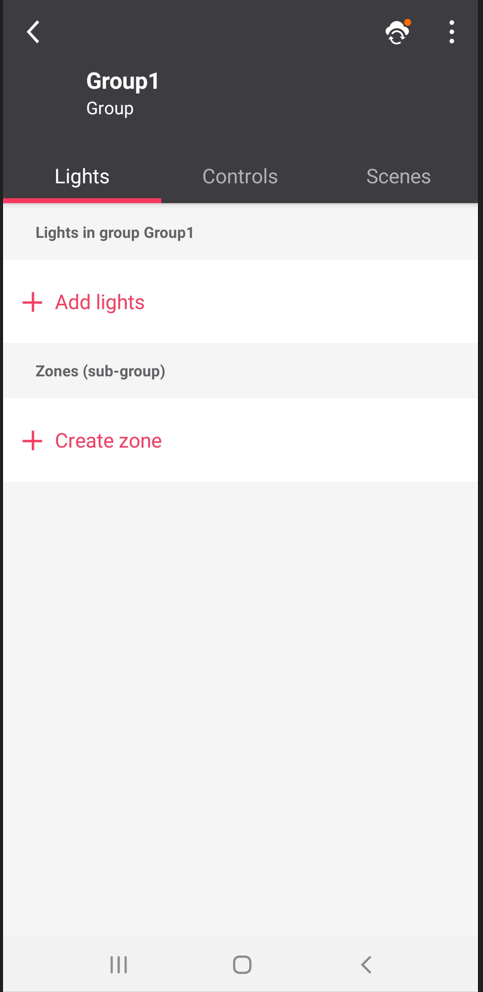
Create a group
-
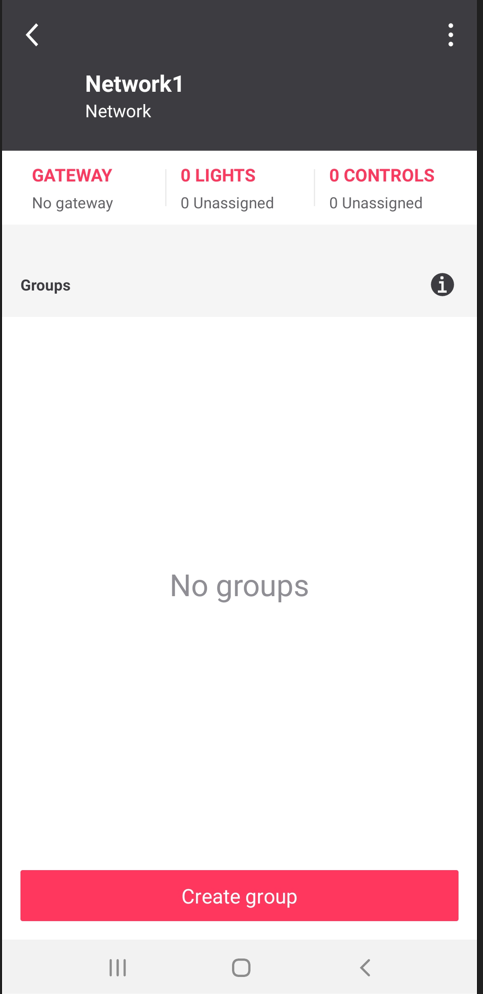
From the Network screen, new experts are encouraged to tap the Info button, which is accessible at any time from the Network screen. The resulting screens guide experts through a series of grouping instructions.
-
From the Network screen, tap Create group.
-
Type a name for your group, then tap done.