Add gateway
It is recommended to complete as much commissioning in a wireless network as possible before adding a gateway to the network. This includes:
-
Adding all lights, sensors and switches to the wireless network
-
Configuring all desired group behavior (high end trim, light behavior)
-
Creating scenes and assigning them to switches if required
Deploying settings does not need to be done before adding the gateway since this is done automatically during a project update. Daylight sensor calibration should only be done after group settings are deployed. After a gateway is added to a network, the app now communicates to the lights through the cloud, then the gateway (with the exception of blinking and adding lights directly via BLE). This increases the time it takes in the app to add ZGP switches and sensors and to deploy settings to groups.
-
The gateway can be added to a wireless network either from the Setup screen where the wireless networks in the project are listed, or from within a wireless network from the Network screen.
-
To add a gateway from the project Setup screen, swipe left on the appropriate network, tap the 3-dot-ellipsis, then tap Assign gateway.
-
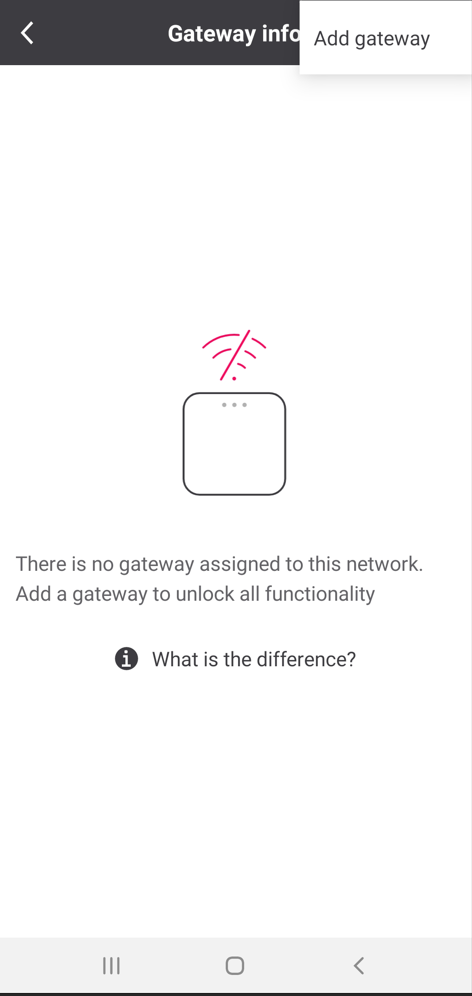
To add a gateway from the Network screen, tap the appropriate network from the project Setup screen, then tap the Gateway tile on the top left of the screen to open the Gateway info screen. On the top right of the screen, tap the three-dot-ellipsis, then tap Add gateway.
-
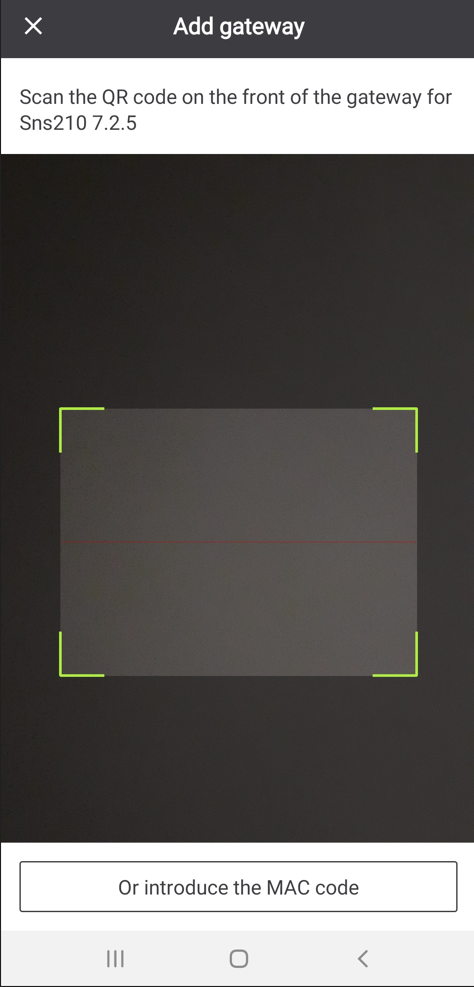
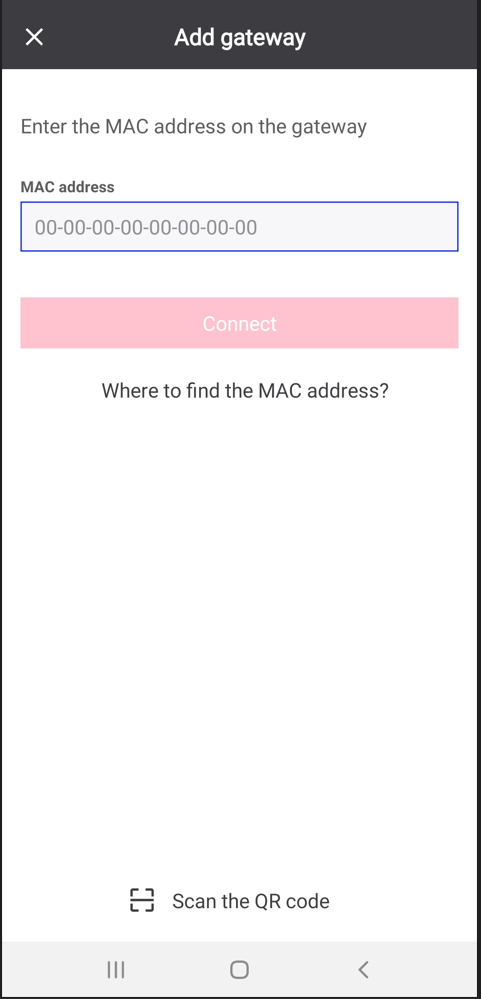
In both cases, the app will open the phone’s camera. Scan the QR code on the front or back of the gateway. Alternatively, on the QR code screen, you may tap Or introduce the MAC code and enter the MAC address printed on the QR code sticker on the back of the gateway manually, then tap Connect. If you are having trouble finding the MAC address of the gateway when entering it manually, just tap Where to find the MAC address? and the app will show you where to look.