Design an outdoor parking project
This guide is intended to support the specification and design of an outdoor parking project.

An outdoor parking application has a few important extra requirements compared to an indoor project. These requirements have an impact on the devices and luminaires used on it, including:
-
Environmental protection against rain, dust and temperature.
-
Distances between luminaires and mounting height are much longer compared to an indoor environment.
The outdoor parking application for Interact Pro is enabled by using the Signify outdoor parking sensor (LCN4120/LCN4150).
Typical applications
-
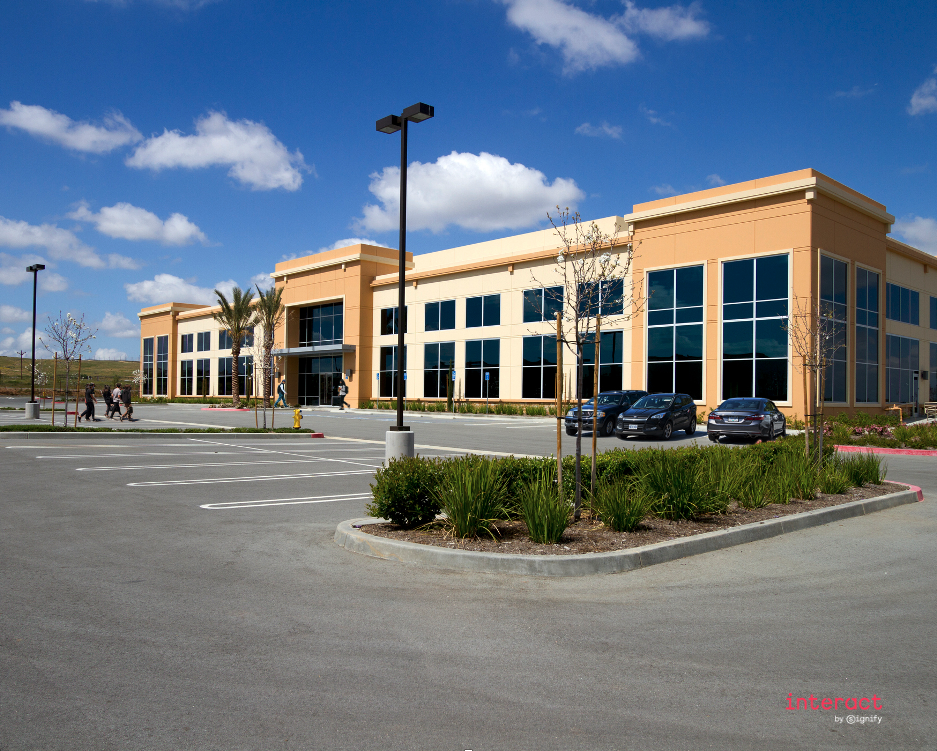
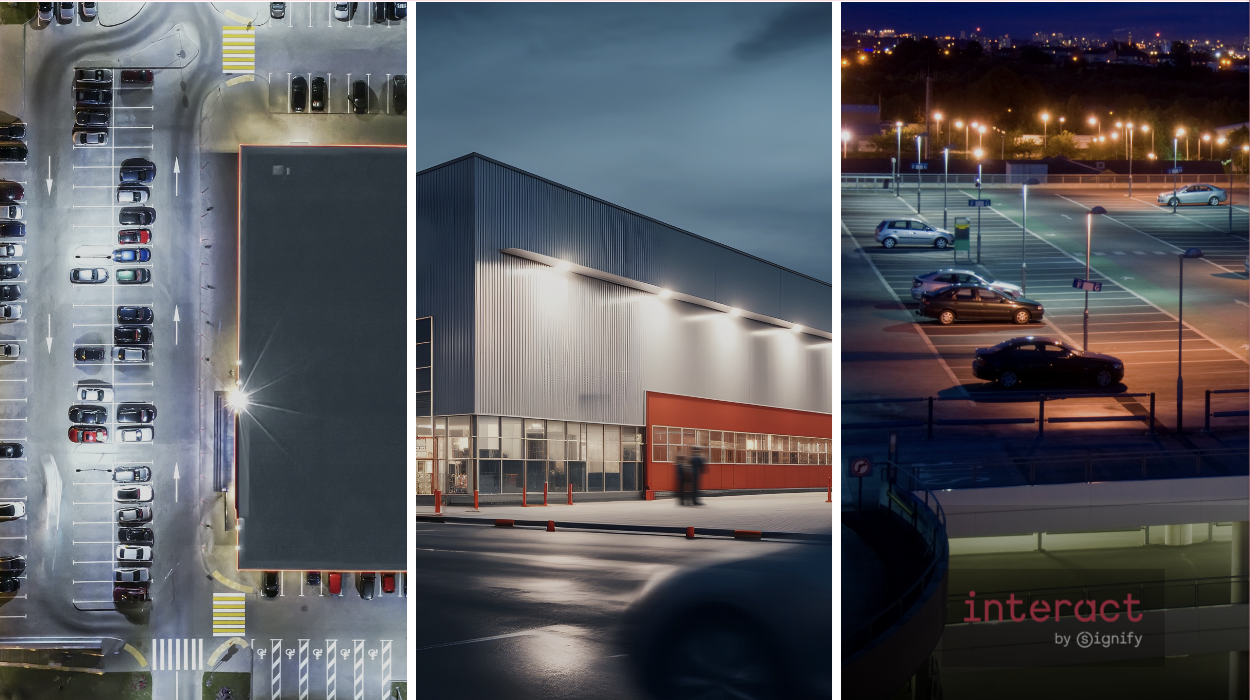
Building perimeter parking.
-
Building perimeter areas.
-
Top-deck parking lots.
-
Dedicated parking lots (Only when the gateway can be protected from the environment, by an IP rated plastic box or an indoor building close by).

Design
To design an outdoor parking project, use the following steps:
-
Plan the location of the lights and Wireless Gateways
-
Define the routes of traffic cars and individuals
-
Define the lighting groups
-
Define the light behavior for each area
Plan the lights and Wireless Gateways
Luminaires and sensors must be placed at the correct position to guarantee a robust performance of the ZigBee network.
-
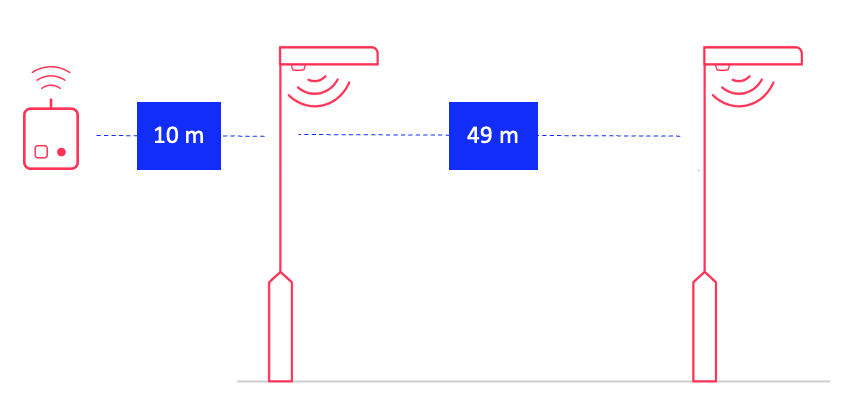
The maximum distance between luminaires with an integrated parking sensor is 49m(160ft)
-
The maximum distance of the first luminaire from the parking space to the Gateway if located inside the building is 10m. Consider the distance from the gateway to the wall and from the wall to the first luminaire shall not add up to more than 10m. In case the gateway can be installed in an exterior plastic box to protect it from the environment, the distance can be extended to 20m. Always make sure to have two or more luminaires inside the gateway range to prevent losing connection to the mesh network.

Blocking objects
The following recommendations are made regarding blocking objects:
-
49m(160ft) is only supported when there is a direct line of sight to the neighbor luminaire without any obstructions.
-
Do not install the luminaires close to concrete or metal constructions that can obstruct the signal.
-
Avoid the proximity to trees or branches that can block the direct line of sight. When obstacles are present, reduce the effective range to 20m.
Map the traffic
-
Start by mapping the formal routes people use.
-
Include alternative routes that are frequently used.
-
Start by mapping the formal routes cars use.
Define the lighting groups
-
At the entry of a lighting group sufficiently illuminate all directions.
-
Lighting groups should group luminaires that follow a specific route in the parking space.
-
Grouping many luminaires into a single Lighting groups can improve uniformity and user experience at the cost of less energy savings. Find the right balance depending on the customer needs to maximize both comfort and energy savings.
Check sensor coverage
Select the lowbay or highbay sensor depending on the mounting heigh and confirm that the coverage of the sensors is enough.
In case the sensor coverage is not enough, consider adding more luminaires to the blind spots to guarantee the correct coverage. If adding more luminaires is not an option, then the system can mitigate lack of coverage by extending sensor hold times or by adding a vacant level higher than 0%.
System configuration
Daylight dependent regulation
Normal daylight dependent regulation is not used in outdoor parking applications, as the sun light provides enough light to keep the luminaires off during the day.
Outdoor parking daylight override
Outdoor parking daylight override (dim to off option) enables the luminaires to automatically switch On and Off during the day and night cycle based on light levels.
| When using Outdoor parking daylight override, background level and vacant level must be kept to 0%. If a vacant level different from 0% is required for user comfort, then schedules must be used. |
Light behavior
| The recommended template to be used is Auto On Auto Off with DDR in case Outdoor parking daylight override is used. If schedules are used, then Auto On Auto Off can be used. |
Light behavior parameters for parking projects
Hold Time
The hold time configuration is a balance between visual comfort and energy savings. When the hold time is increased, it is less possible an group will turn off while there is someone driving or walking on the space. But this will result in the lights being turned On for longer periods of time, saving less energy. The recommended hold time for most parking applications is five minutes, while for some special cases a lower hold time might be adequate to maximize energy savings.